Just wanted to say ... thanks for taking the time to stop by, hope you enjoyed your visit.x

Showing posts with label frilly and funkie. Show all posts

Wednesday, 20 August 2014

Hip to be Square - for Frilly and Funkie

Well it is time for another challenge over at Frilly and Funkie and the theme this fortnight ( still a week to go ) is Hip to be Square. Here in Jenny's words are the details :  
Create something based on a cube. You can use your own templates, dies or the Artist Trading Boxes dies. Decorate, embellish, alter in any way you choose. 

Make sure you hop across to see my team mates gorgeous makes as there is lots of inspiration!

You can choose whatever theme you want and just have fun, now these ATB's are designed by Eileen Hull and are so much fun to make and create..and highly addictive. So here is my piece for this challenge :


Now for this piece I used the largest die and then went on to create 3 smaller ones that would fit inside..rather like Russian dolls!

Here are the 3 smaller ones that fit inside :


And here they are all snuggled inside:


I wanted to create a softer fell for these than my previous makes with these boxes which can be found here and here. They were full of all sorts if you want to see. These are so versatile and I have to say so much fun to create as there are four sides to decorate as well as getting carried away inside.

So now for some of the details :

For each of the die cuts I added some blue ink to the inside surface and some frayed burlap for the front surface. I die cut mine from 500 gsm card to give it some thickness.


I like to add colour to the inside and decorate them before gluing together. For the outside I then used this great latticework stencil and applied some stormy sky distress ink through in places using a mini blending tool. Then spritzed some water into palm of my hand and then flicked onto card surface and dried.


For the seahorse I applied some distress paint to surface, then added rock candy crackle and completed pretty much as Tim Holtz did in his tag for July found here. I did choose softer colours.


I fixed the pieces together to create the finished boxes and then had fun embellishing!

For the large box I added a small piece of trellis die , some baby shells, some stamped blueprint seashells and sand dollar and some foliage..which was painted and splattered and inked. I also added a chit chat sticker.


 here are a couple of the side...complete with cheesecloth sea  and some more simple embellishments.


For the lid/top I added another seahorse, some dyed seam binding and a word band. For the base I added some little spools painted with tumbled glass distress paint.


For the stack of boxes, I embellished in a similar way..


Well hope you find time to be square too...and join in the fun. Make sure you pop across here for all the details of how to join in and for details of the generous prize you could win from Linda's boutique ..The Funkie Junkie Boutique, which is stacked full of lots of yummy goodies!

All supplies are listed below...


Thanks to everyone who takes the time to stop by and for all those who leave a comment, it is hugely appreciated .

keep those fingers inky!
trace x 

Tuesday, 6 August 2013

creating for pleasure.........part 1

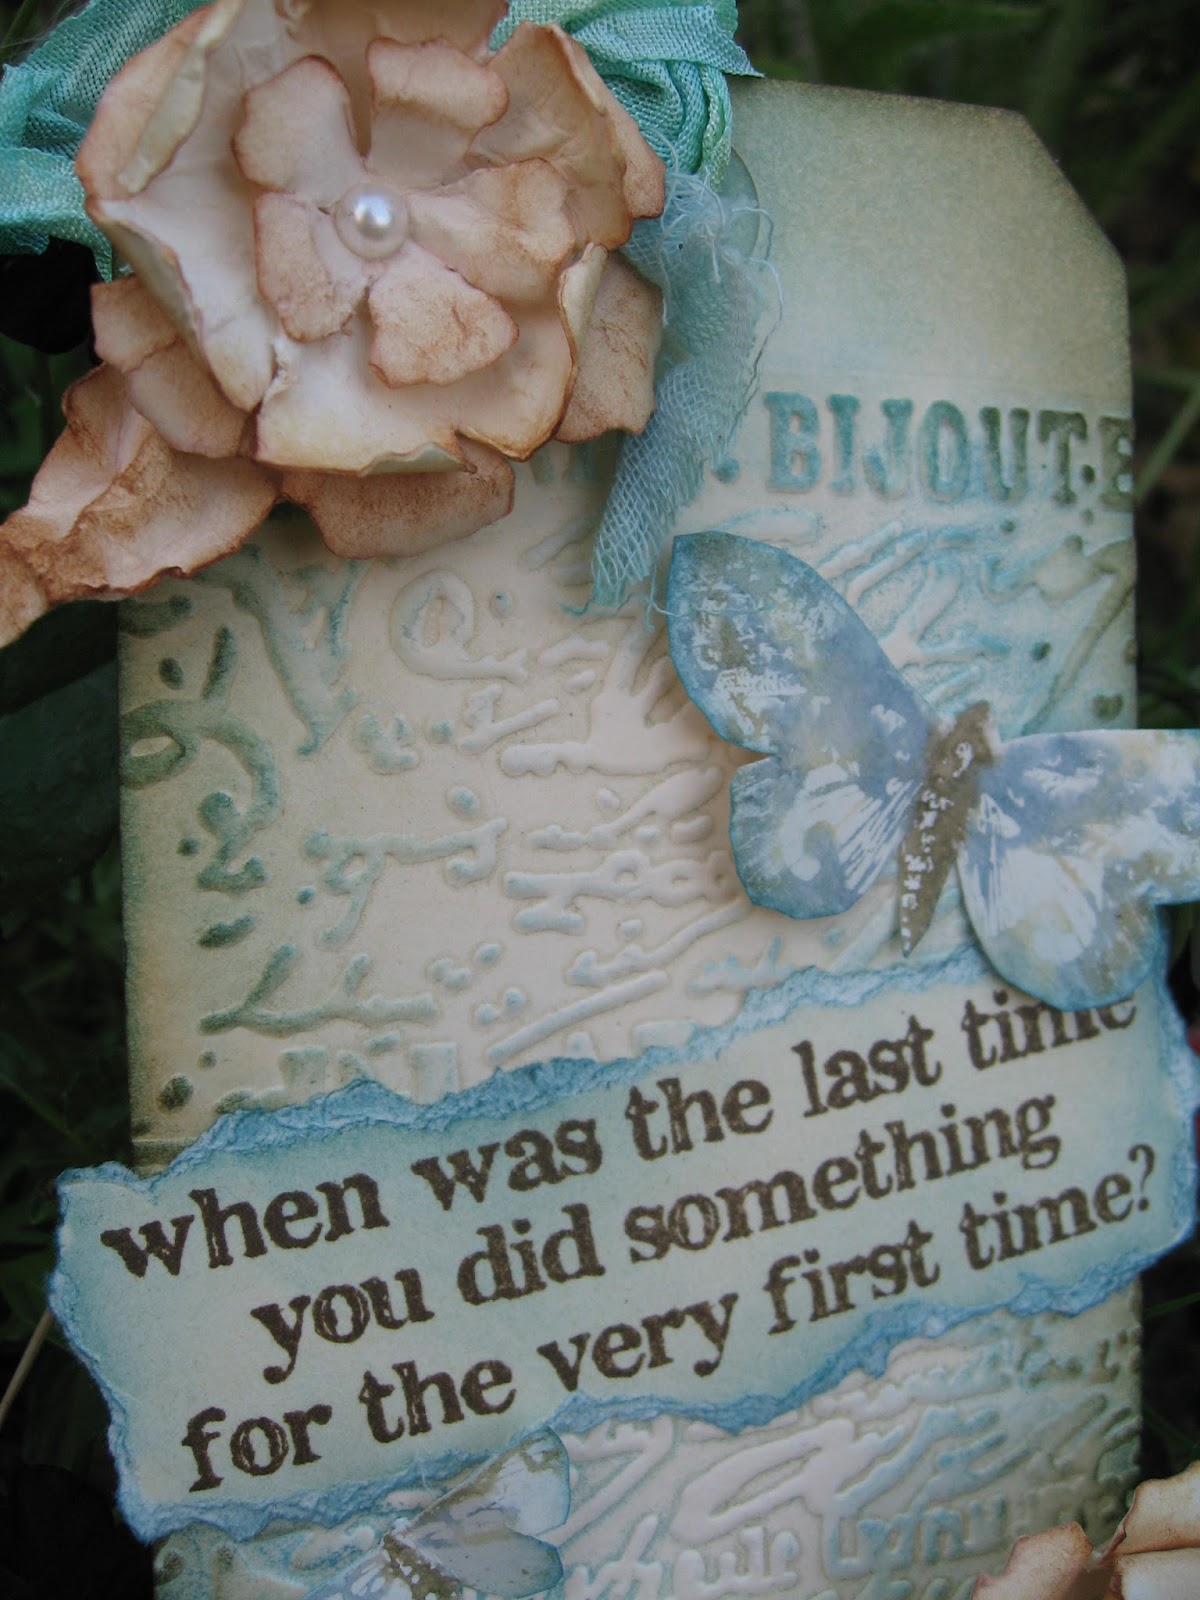
Well a couple of Fridays ago it was my turn to do a project on texture fades, I love these useful and versatile tools, that come in so many designs and styles to suit all tastes ... So here are the tags I made for that Friday Focus in greater detail ...

Tag 1: inking the inside of the embossing folder, a really simple background that can be used in so many ways.


This tag uses a texture fade to create the background, but instead of simply embossing the tag I have inked up the texture fade first using Distress inks. For this tag I have used antique linen and broken china.
( To fit the tag in the embossing folder Tim has a great tip  for cutting a slot into the folder for the tag to fit in )


cut a slot through the top of the folder, leaving a small piece attached at either side x


This gives a really soft finish , which can be left as and means the raised areas can be left the colour of the cardstock / tag. For this I have inked the side where the design is indented.

 I could have left this as pale and soft but wanted to complete the look by adding further inking, using vintage photo distress ink, this does mean that around the edges the embossed design will have some colour. I loved the pale colours in the centre so avoided adding any extra ink to the central piece.


I added some flowers using the tattered floral die, vintage photo distress ink and a great tutorial by the lovely Jennie here , whose flowers are truly beautiful!

I added some muslin, dyed with distress stains, for another texture, and added small pearls to the flowers centres.

 To complete I added some butterflies , coloured using distress markers direct to the stamp, very lightly spritzing and stamping..


Finally some seam binding and this fab sentiment stamped in coffee archival and inked in antique linen and broken china.


Tag 2 : stamping on the embossing folder using reverse script


The base of this tag very similar to one of Tim's tags from last year found here and video for reflections stamping here .

This involves inking up the reverse script stamp with jet black archival ( you do need to move fairly quickly ) and then embossing, using a frame folder. When embossed the script appears correctly! Tim really is a clever man!


Again stamp on the embossing folder on the side where the design is indented. Such a clever effect and then can be finished however you wish.

I inked the tag in frayed burlap and broken china and then dried and added walnut stain around the edge. The fab Tim sentiment was stamped in black archival in the middle (It really was a tight fit?!)


I then cut lots of flowers from crinoline using tattered floral strip die which has lots of lovely small flowers that can be easily layered . I dyed these using stains and left to dry  ( I used evergreen bough, broken china and antique linen.) , when dry I layered and added a long fastner for the centre.


I also added some on Linda's lovely venise lace trim, which I dipped into stains and it takes colour beautifully! Some dyed seam binding finishes the top...


have a fun and inky day!
will be back later in the week with part 2 and 3!
trace x