Just wanted to say ... thanks for taking the time to stop by, hope you enjoyed your visit.x

Showing posts with label dimensional piece. Show all posts

Wednesday, 25 May 2016

A stitch in time ....

Well I am struggling with crafty mojo at the moment ... and have been pinging around playing with this and that and not really finding my groove .... but I saw the challenge over at A Vintage Journey ... and decided to have a play ... so here is my sewing inspired make :


I created this little make using some great new shrine kits and had fun filling it full of sewing inspired pieces, some of the new Tim Holtz gears were rusted up ...and well just plenty of playtime really, so I wont bore you with all the step by step details...

I added Decoart weathered wood crackle, on piece , then clear embossing and plenty of distress goodness!


I added some idea-ology, weathered up a bit with a painty wash.. some sanding...


Inside I nestled some spools covered in hand dyed seam binding, vintage lace and some more idea-ology...rusty wire ...and some little vintage buttons


Here is a little side shot , to show the wonderful dimension , these little things have ...


A more sunny shot ....just because I loved the shadow the rusty cogs gave ...


here is the close up detail of the hand dyed seam binding I tied around the inside before securing...I love the contrast of the blue tones against rust....


And finally one last sideways shot....


So thanks to the team over at a Vintage Journey for inspiring my playtime ....I will be adding this the challenge, cant remember the last time I linked up and played in a challenge...and I loved this playtime ...so thanks x 

Well that's all for today ...I am off to teach a few more lesson for James...IT today amongst others , so not my strong point!! give me some inks anyday ...
that and running Oliver to and from school, looking after Lucy ..who is under the weather to say the least ....
and well that about sums up my day ...
oh and trying to find a snippet of time to do my Tim's tag...which yes I am behind on again....oops !

hope you have a great day !
keep those fingers inky x

trace x


Friday, 6 May 2016

Adventure awaits you - for Country View Crafts

Well  I have happily found some more crafty playtime, this time more paints from Decoart, some mdf pieces and some stamps from Paperartsy... This is another post for Country View Crafts ...so for all the details ...please hope here...

So for the sneak peaks for this make.....


And here is the finished piece...
If you would like to know how I made this ...all the details can be found here.....


If you have found the time to stop by then thanks so much, your visit is very much appreciated , as are your lovely comments x

keep those fingers inky!
 and those hearts full x
trace x

Sunday, 16 June 2013

a pocketful of treasure ...

well here I am with my entry for Simon Says this week which is buttons. I have to admit there is no pocket..just some little treasures in box. Now the theme this week is buttons...and I have to admit that I rarely use buttons...so this was a challenge. ( I altered  my buttons..see below).


 So I created a box, which I filled with little sewing treasures...


So firstly the box....I added some tissue tape in strips to the outside of the box and then added some script detail...using texture paste through a stencil ( studio 490 white paste). I then painted all over the box with mushroom eco paint and left to dry. 


To continue the layers on the box i added some fab 2 step deco art crackle...and when dry rubbed in frayed burlap distress ink. I love the random crackle almost like crazed tiles.


I then rubbed some treasure gold onto this, in white fire.

This is the same process that I used to crackle my buttons...and I think I am really pleased with the outcome..


I stamped out some vintage thread cards and added some needles and a button to one ..to add to the collection of goodies in my box...alongside lace, more buttons, mini pins, snaps and some inked ruler ribbon.


Finally onto another use of the buttons for the lid. I made some flowers using the tattered floral die and inked with vintage photo...then added some leaves and also some button centres.


oh and  a little twirl of rusty wire crept in...had to..

 
Well thanks for looking..has been a bit of an up and down week so hence why things have been a bit quiet but I will be back with two creative expressions Dt makes next week and some other makes too..

I am entering this for the following competitions:

buttons @ http://simonsaysstampandshow.blogspot.co.uk/

have a fun and inky day!
trace x


Wednesday, 27 March 2013

easter gifts but not in a basket for Frilly and Funkie DT

well the challenge over at Frilly and Funkie this fortnight is to create an Easter or spring gift holder with a difference..and no baskets. Make sure you pop across here and see some of the wonderful Dt makes and hopefully you will be inspired to join in yourself. one lucky person will be picked as winner and another winner chosen at random will receive a $25 gift voucher to spend in the funkiejunkieboutique and believe me this is full of yummy goodies!

So onwards here is my make:

 I started with a papier mache cone which I painted with gesso to give a base coat . I then got painty happy with the fab new distress paints...did I say I Love them!? and covered the cone with layers of scattered straw and antique linen.. then realising that was too much for me I spritzed with the fab white linen Dylusions spray, water, more painty drippage  (frayed burlap and antique linen ) and voila...

 
I then used the ledger stamp from ephemera backgrounds from Artistic outpost and stamped in antique linen distress paint. Now for the decorations...

 
I stamped the eggs I coffee archival ( from Artistic Outpost birds of a feather set) onto tissue paper and left to dry. When dry I added distress paint to the back of the eggs in antique linen and frayed burlap paints using a water brush and left to dry. I then cut them out and applied to the cone using matte multi medium..some of them I added the inked side and some the reverse.

 
I also added the spring is here sentiment from the same set.


To complete I added a handle of rusty wire and some crochet ribbon and rusty wire around the top. I then cut some old book pages into strips and nestled some chocolate eggs on top.


All the supplies are listed below..hope you will have time to play along and make sure you pop across here for all the fab DT makes.

Also the funkie junkieboutique now has a page on facebook and can be found here.. thanks to the lovely Jenny.

I am entering this for the artistic outpost challenge.. any artistic outpost stamps here:
http://artisticoutpost.blogspot.co.uk/2013/03/artistic-outpost-march-referral-program.html


have a fun and inky day
p.s scroll down for my dragons dream DT make
trace x

Tuesday, 5 March 2013

read all about it...

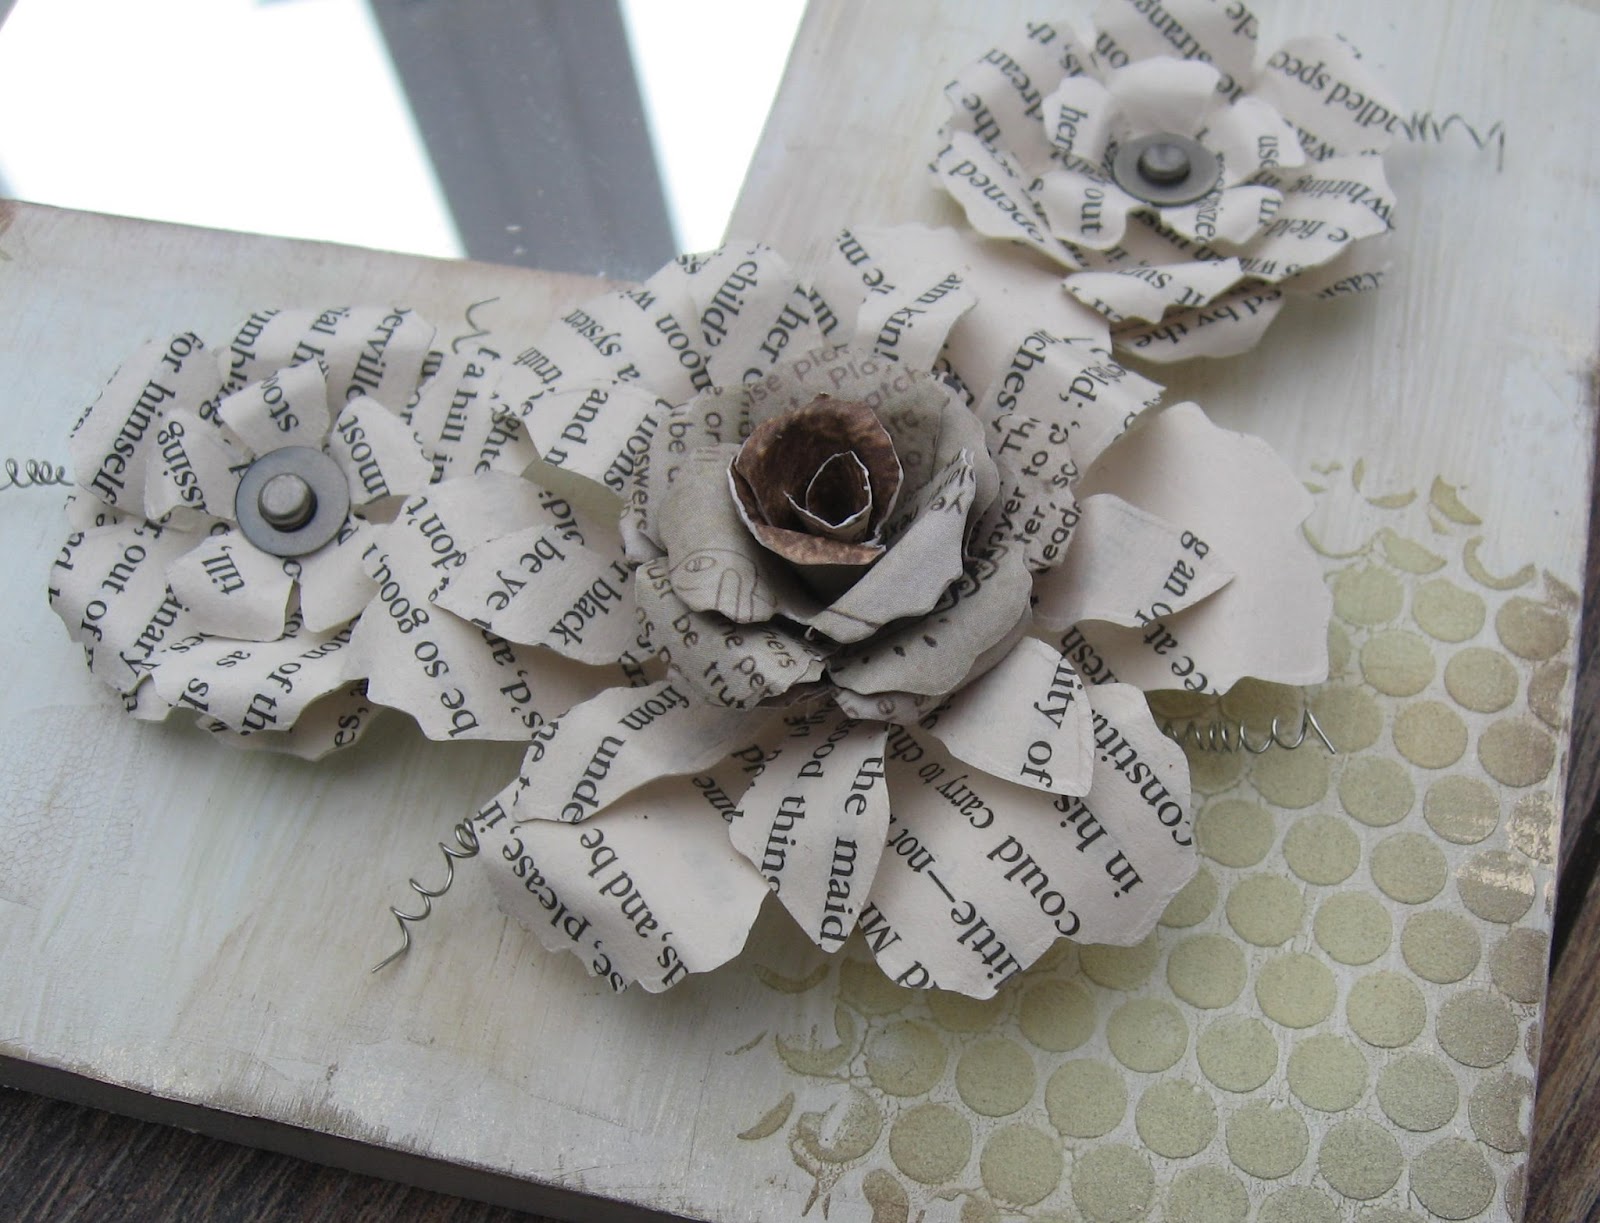
well the crafty master that is Tim Holtz is hosting a fab tattered floral challenge and it would be rude not to play along . There is stacks of inspiration from Tim and many of his talented team have inspiration on their blogs too, so make sure you pop around and see some of the amazing makes. 5 lucky people will also be picked to win a $100 gift bag...how lucky would that be!

So here is my make :


I started by painting my mirror with gesso mixed with a small amount of antique linen distress stain. I added some strips of tissue tape, I love this stuff.


Then I mixed some antique linen distress paint  ( only a really small amount) with texture paste and applied through some sequin waste. When dry I swiped frayed burlap distress ink over the mirror.. I have rediscovered this colour and boy I love it!


When dry I swiped the edges and some of the raised areas with white fire treasure gold.


The flowers were made using the wonderful tattered floral die, a firm favourite of mine.. from old book pages adhered to cardstock using glue and seal. I then cut lots of flowers and shaped .


 For the centres I used idea-ology washers and fasteners.. some of the flowers are in the same style as my flower stepXstep using range foil ..found here.


I then added some small flowers on their own and also for for the really large flower I made a dimensional flower using some Tim Holtz paperstack. I also had to add some twirls of wire ..couldn't help myself!!


Well I am pleased with how this turned out and like the neutral feel.. , am still in my neutral phase.... I think! well till tomorrow!?

Thanks to everyone for their kind thoughts and concern about my hand, my hand is still splinted but is getting slowly slowly better!! I am trying so hard to be good but there are so many crafty , inky things that I just have to play a little too!!

right off to link up and rest my hand!

have a fun and inky one!

Friday, 22 February 2013

home is where the heart is for creative expressions DT

well , slowly , typing one handed and being a good girl and resting my hand.. is my post for creative expressions DT using the fab arthouses set designed by the lovely Sam Poole.

These stamps are fab and can be used for so many things and luckily I got playing before I was told to be good and rest my hand for at least 3 weeks, well day one done..itching to get inky already..may give it a one handed go!?

Anyway here is my make this week:

 
 I made this at the weekend and couldn't believe it when I saw the fab Butterfly had made a similar thing!
I started with some beer mats which I painted , then added furniture restorers crackle medium and a layer of calico emulsion. When dry I edged with vintage photo distress ink and stamped some script from timeless journey set in vintage photo and also added some bubble wrap stamp using pebble paint dabber.


Then is set about decorating....

the first piece, had the word home cut out and inked, this was from the word play die but creative expressions have a fab grungeboard letters in sets here.

For the middle section:


I used the fab house set and stamped the house in coffee archival, then I inked and used a waterbrush using distress inks. I added glossy accents to the centre piece, and also added some great arts parts wings, coloured with vintage photo distress stain.


now for the last section:


I used a technique from one of tim's tags last year found here, I used a grungeboard heart from this set and covered with wonder tape sheet..( this is sticky on both sides but will also cope with being heated..
 I then stamped out the house in archival and coloured the text pieces with vintage photo distress and snipped up into small pieces which I added to the heart shape. when happy I added a mix of walnut stain, tea dye and vintage photo distress embossing powders to it and heated. then added glossy accents to the pieces.
to complete I added mini stamped words and some rusty wire..of course!


I added rusty wire to the top and used idea-ology lace chain to connect the mats together..
These were blank beer mats , but you could use any thing really..

I love how you can use pieces of the stamps in different  ways, the two pieces I have done have been browns but will be back next week with something more colourful, using these stamps.

thanks for stopping by............have a fun and inky day!