Just wanted to say ... thanks for taking the time to stop by, hope you enjoyed your visit.x

Friday, 22 July 2011

distress inks , a teachers thank you

Well hi there bloggers,
I thought I would share with you my teachers thank you cards. I decided to use a limited palette, which seems to be a thing of mine at the mo, but guess what?- no vintage photo or antique linen in site!!!!


I wanted the cards to appeal to my sons as they are for their teachers, to say a huge thanks for all their hardwork, but also wanted them to appeal to me.Both of my boys have had such wonderful years at school, a fantastic school I have to say!

I have listed below a quick run down of how they were made and then a list of the items I have used...hope you like them and hope the teachers do too!!!

1. Firstly, I stamped the background of the card using a script stamp from Creative Expressions Timeless journey set. I used pumice stone and black soot distress inks.

2. The next panel on left hand side was stamped using paper artsy stamp - minis MN57 , again using pumice stone distress ink from Tim Holtz.The edges were then distressed by adding pumice stone ink using blending tool.

3.The boy is a Lili of the Valley stamps and I love the way that by stamping in black distress ink onto smooth watercolour paper the image loses alot of the 'cutesy feel', but is still cute. The ink was then softened out using a small amount of water - I tend not to use a water brush as this can add too much water and is less easy to control.

4. This was matted onto textured cardstock, using spellbinders label 17 to cut layers.

5.The pen was stamped and softened using same technique as main image, the stamp is from Butterfly Kiss, again a creative expressions stamp.


6.The flowers were made using Tim Holtz Tattered floral die, onto grey paper, overstamped with script and layered using pinflair glue and a pearl in centre.

I am very pleased with the finished results.

Drop me a line and let me know what you think!
ta trace.x


Sunday, 17 July 2011

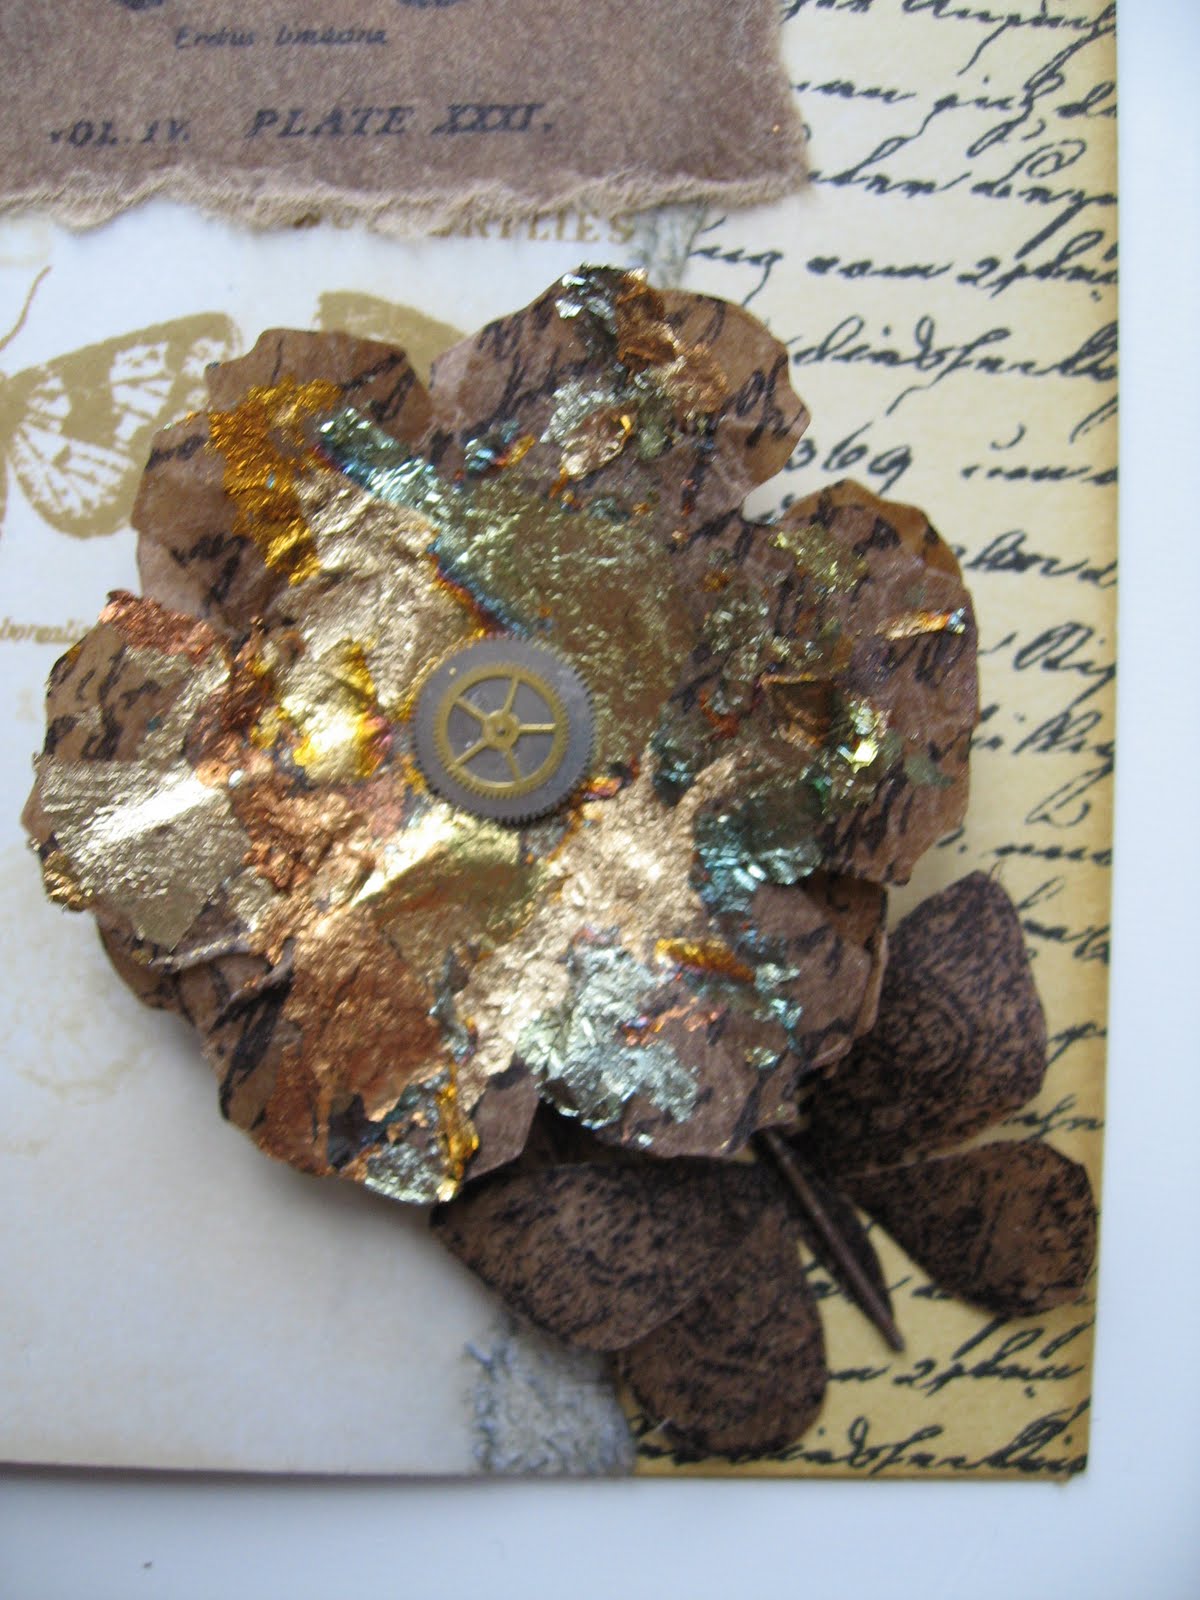
tim, vintage butterflies and kraft glassine paper.

Hi bloggers, just realised that this card is the same colours as the challenge before, must say something about me.................vintage.!(at 38? I hope not!!!!)
well here it is ..


I decided to have a play with my new kraft glassine paper from the one and only Tim Holtz and what fun WOW!!!!

I will list the items I used below in case anyone in the blogosphere has found me yet and wants to try this!

The paper was amazing, I stamped the Tim Holtz stamp PAPIILION in archival ink onto the glassine paper and it seemed to float on the surface, when heated the paper seemed to melt and once heat removed as soon as this happened the image then seemed to sink into the depths of the paper, how cool!!!
Anyway hope you like the card, drop me a comment and let me know........PLEASE?!!!!
I am entering this into my first ever blog competition:
Challenge 12 - wings and things - Stampin' for the weekend
Wish me luck!!!!

ITEMS USED:
white card blank and white card
kraft glassine paper..Tim Holtz  idea-ology
Tim Holtz stampers anonymous - Papillion CMS106
Distress Inks - antique linen and brushed corduroy
Old watch parts
copper thunder gilding flakes - crafty notions
vintage cream ribbon - creative expressions
script stamp, Tim Holtz visual artistry- urban grunge


Thanks night night
trace x


Monday, 11 July 2011

Creative Expressions Calling Card Challenge

Creative Expressions Calling Card Challenge.


Calling card challenge immediately made me think of Alice in Wonderland and the playing cards. The idea developed from there, I wanted to get across the idea of a card calling............and from that the idea of absinthe, the green fairy, which has links to the time when the book was written - hence the green vial of absinthe and 'drink me' being the call of the card.
I wanted to use soft, vintage colours to contrast with a vibrant green bottle.


So here goes:
I will list all items used and then step by step instructions which will detail how to make all the individual card and ATC elements and then how to bring them all together as finished piece.

Materials and tools
Stamps:
Vintage Games by Creative Expressions http://www.creative-expressions.uk.com/
Wonderland by polkadoodles http://www.polkadoodles.co.uk/
Alice in Wonderland by stampattack
Other materials:
Large square white card
White cardstock
Atc blank
Adirondak dye ink - espresso
Tim Holtz distress inks - antique linen, tea dye, walnut stain
Perfect medium
Clear embossing powder
Crystal lacquer
Glossy accents
Tim Holtz tissue tape - Hobgoblin
Tim Holtz idea-ology memo pins
7 gypsies clear bottles
Alcohol inks - pool, meadow, lettuce
Cut 'n' dry foam/ ink blending tool
Clear hair gel
Dolls house playing cards
Syringe
Pinflair Glue
Heat tool
Craft sheet

Instructions:
The card
1.Take a piece of cardstock cut to 19cm x 19cm. Stamp playing card (Creative expressions) inked with antique linen and then repeat using tea dye - ensuring some overlap, set aside to dry.


2.Once dry use cut 'n' dry foam to add antique linen to edges of card, start away from the cardstock and use small circular motions towards cardstock to build up colour. Then just on edges repeat using tea dye.

3. The next layer is built up in same way on 15cm x 15cm, but using the curiouser and curiouser(polkadoodles) stamp. For this layer edge as before but use walnut stain.

4.For the next layer cut a piece of cardstock to approx15 cm x 15cm, then tear to reveal white edges. This can be done by tearing edge towards you, rotating 90 degrees and repeating for all 4 sides.


5.Overstamp this piece using the playing card stamp (Creative expressions) inked with perfect medium, over image with clear embossing powder and emboss using heat tool. These images will act as a resist when ink is applied. Then using cut and dry as before, ink using antique linen and tea dye.

6.Ink up the bottle stamp (polkadoodles) with tea dye and stamp a line of images and a separate single image.. Using tea dye ink splodge some onto heatproof craft mat and lightly spritz with water, this can now be used as a paint to colour images - more images can be added when partially dry to build up the depth of colour.
Once dry apply crystal lacquer to all the bottles and set aside to dry. When dry trim strip to 1.5cm by approx 20cm and also cut out the individual bottle.


7.Add colour to the small dolls house playing cards using firstly antique linen and then tea dye. ( I used 8 cards).


8. Now for the FUN BIT filling the bottle............ Blob some clear hair gel onto an old cellophane bag, add 3 drops of meadow, 1 drop of pool and 1 drop of lettuce alcohol inks, then mix using a coffee stirrer........(gives you a good excuse to pop for a coffee and have a natter!)
Finally fill an old syringe and carefully syringe into the clear bottle. I applied some glossy accents to the cork and placed inside so there was no chance the liquid could leak out. For the label, ink bottle stamp with espresso ink, stamp and leave to dry. Then, cut out the label and attach to bottle using glossy accents.


The ATC.
Overstamp the ATC with the bottle inked with clear medium,clear emboss to create resist.
Add 3 strips of Tim Holtz Hobgoblin tissue tape. Colour ATC , as card, with antique linen, tea dye and finally walnut stain around the edges.

Ink up bottle stamp with espresso ink and stamp twice onto piece of card, leave to dry then apply crystal lacquer to one bottle and cut out drink me phrase from other.
Stamp 'card man' ( stampattack) onto white card using espresso ink, set aside and when dry cut out carefully.


YOU ARE NOW READY TO ASSEMBLE THE CARD AND ATC.

ATC:
Attach bottle using crystal lacquer and man and drink me phrase using pin flair glue gel.

CARD:
Attatch all base layers using strong double sided tape, attach base layer and curiouser and curiouser layers straight ( I chose to have card opening at bottom), then the next layer at angle.
Attach bottle embellishment on 3-d foam pads in top right hand corner or curiouser card .
Use glossy accents to attatch the Tim Holtz memo pin which will hold the ATC- leave to dry
Using strong double sided tape add the bottle border.
Now add the mini playing cards using 3-d foam pads to create random border along base.
Finally, add bottle of absinthe to bottom right hand corner of card using glossy accents.
Now place ATC into memo pin and YOU ARE DONE!!!!


My Creative Expressions Calling Card Challenge.

Share the love and leave a comment ta trace.x


Saturday, 9 July 2011

A distressed mirror, or is that me when I look in it!

Well here is a go at a different font, the other one is huge! I thought I would show you my distressed mirror that sort of goes with the canvas  I blogged earlier in the month.


I started with a cheap wooden mirror and painted it with crackle paint, spread fairy thinly.Once dry I inked it all over with a variety of blue and green distress inks and spritzed lightly with water to blend and soften colours.

Once dry I stamped the corners with black flourishes and around edges of mirror, then added dare to dream rub on and the word 'love' cut from grungepaper on my cricut.


Finally the mirror was sealed with golden gel matte medium and the tim holtz corners attached with glossy accents.

Hope you like it, please leave me a comment and let me know what you think,
ta trace x


Thursday, 7 July 2011

Just a quick one tonight.....

Well just thought I would show you a couple of things I made a while back using creative expressions vintage sewing plate...I love these designs.

Here is my first offering, a notebook made using my trusty Zutter machine. I have kept the colour tone simple and let the design speak for itself.


Secondly and lastly for tonight , a simple card also using the vintage sewing plate from creative expressions, again simple yet effective, I hope!!!!!


Thats all for tonight.

Next time there will be a fab (in my opinion) project with full instructions.

ta trace x


Friday, 1 July 2011

text size!!!!!!!!!!!!!!!!!!!!!

All I can say is SORRY about the text size, at the mo it is .....

normal or small.

I've opted for this bet you're glad I didn't go for largest or smallest.

night night trace x

my first blog project- a gorjuss girl card

Well, here goes my first blog project, although cutesy is not really my usual choice I LOVE these gorjuss girl stamps, they are simple and somehow warm and gentle.

Well here is the card, details below......


I will list all items used at the end.................just in case you are inspired to have a go!

1. Stamp the gorjuss girl and fox on log  with memento ink and colour using promarkers. I have used a limited palette and built up colour.
It is important to use good quality card such as neenah solar card for promarkers to get the best results.

Promarkers can be used wet on wet to get a soft build up of colour but the same pen can be used on a dried layer of colour to build up highlights and shading.

For example: the hair has been built up using two pens and the blending pen, colour first with the lighter colour, streak on blending pen and then when dry add shadows with darker colour.This can be repeated to build up definition if desired.


2.  Cut out the coloured piece using largest spellbinder Labels One die.

3. The green layer added behind this was created using an extra layer from the largest size as detailed below -
Draw round the largest die on the wrong side of the patterened paper using pencil and cut out,this will create an extra layer from your dies.

4. Add detail to the foxes noses and buttons using a sakura black glaze pen. I have also added glitter to the flower in the girls hat for a little sparkle.

5.The flower embellishment was made using Tim Holtz tattered florals die and I used 2 x small flower and 2 x medium flower. I then scrunched them tightly, unfolded and stamped with script stamp using frayed burlap distress ink. Once dry these were layered using foam pads ( you could use silicone glue) and a button centre adhered using glossy accents ( another fab favourite of mine)


6. Take a 5 x 5 card blank, I chose a scalloped one and add frayed burlap ditress ink to edges using a blending tool. Do this gently working from a craft mat onto the card in circular motions.

7. The card can now be assembled. Mount large patterned shape and then gorjuss girl panel onto card.Finally add 2 leaf punched springs and affix tattered floral embellishment on top.
For added interest I have added a fox on a log inside card


Materials and tools used:

little gorjuss clear stamps, little foxes  gjcsa6002
5" scalloped card blank
neenah solar card
black memento inkpad
my minds eye paper from antique dots collection
spellbinders Labels One die set
Tim Holtz tattered floral die
sakura black glaze gel pen
frayed burlap distress ink
crafty individuals script stamp c1-017

promarkers :
hair - terracotta, burnt orange and blender pen
skin - ivory, pale pink, blush and dusky pink
coat - olive green and marsh green
foxesterracotta, blender pen and ivory

well thats all for now, night night
please leave me a comment if you liked this
thanks trace x