Just wanted to say ... thanks for taking the time to stop by, hope you enjoyed your visit.x

Friday, 13 December 2013

playing Tim's tags catch up.... here is November and October

well having taken a break from blog land earlier this year I sadly missed Tim's tags for October and November , but was determined to complete the set, so decided to do a winter inspired version of The tags for October and November. 

Each month Tim gives us an amazing tag for inspiration and his November tag can be found here and his October tag can be found here . So here are my two catch up tags ...October first ..


I mad a yummy Distress painty background, still so in love with these! And then cut out this gorgeous vintage santa...A new Tim one and coloured him with distress markers from craft sheet with my waterbrush. 


I added the frame but used silver Distress glitter.......well pumice stone, gorgeous stuff!
 and added some die cuts coloured with iced spruce and sprinkled with Distress rock candy, still love this stuff , makes everything seem sugar coated/ frosted.

 
copying Tims layout I added a sentiment from simple sayings...


and some scrummy dyed seam binding at the top..


Now for my festive take on November :


For this I followed Tim's lead and so all the details of the chalkboard effect can be found here , 


and then added some linen ribbon, dyed seam binding and some idea-ology...including the cutest ice skate going!!


hope everyone is getting there helping Santa, Life events here have delayed proceedings some what and now I have a really horrible cold :( but we will get there ! Santa will be ready ! 

keep those fingers inky!
trace x 

Wednesday, 11 December 2013

Another star shines brightly.

Not often that personal things are on my blog but this post is for someone who I loved dearly xx and whose star now shines brightly ...love you xxx and keep shining bright xx

So here is my tag #2 for Linda's fab 12 tags of Christmas...sponsored by The Funkie Junkie Boutique.......and yes I really am only on #2 ! All the details if you want to join in can be found here . Believe me you wont be short of inspiration from Linda's great tags.

Linda's gorgeous tag can be found here and here is mine :


I used similar colours to those that Linda chose and included similar elements with a few extras/ twist of my own. I created my background using brushed corduroy distress ink. and spritzed with perfect pearls in biscotti. 

I then over stamped the flourish stamp from reindeer flight set of stamps in brushed corduroy and covered with sticky embossing powder and then rock candy distress glitter.


I also added some music script stamped in coffee archival. I do love this flourish stamp.


For the reindeer I die cut from grey board, covered in antique linen Distress paint and then distress rock candy glitter. the cool thing is this glitter can be coloured with distress ink, so I added some shading around the edges.


When in place I added some wire and a small rusty bell round his neck.


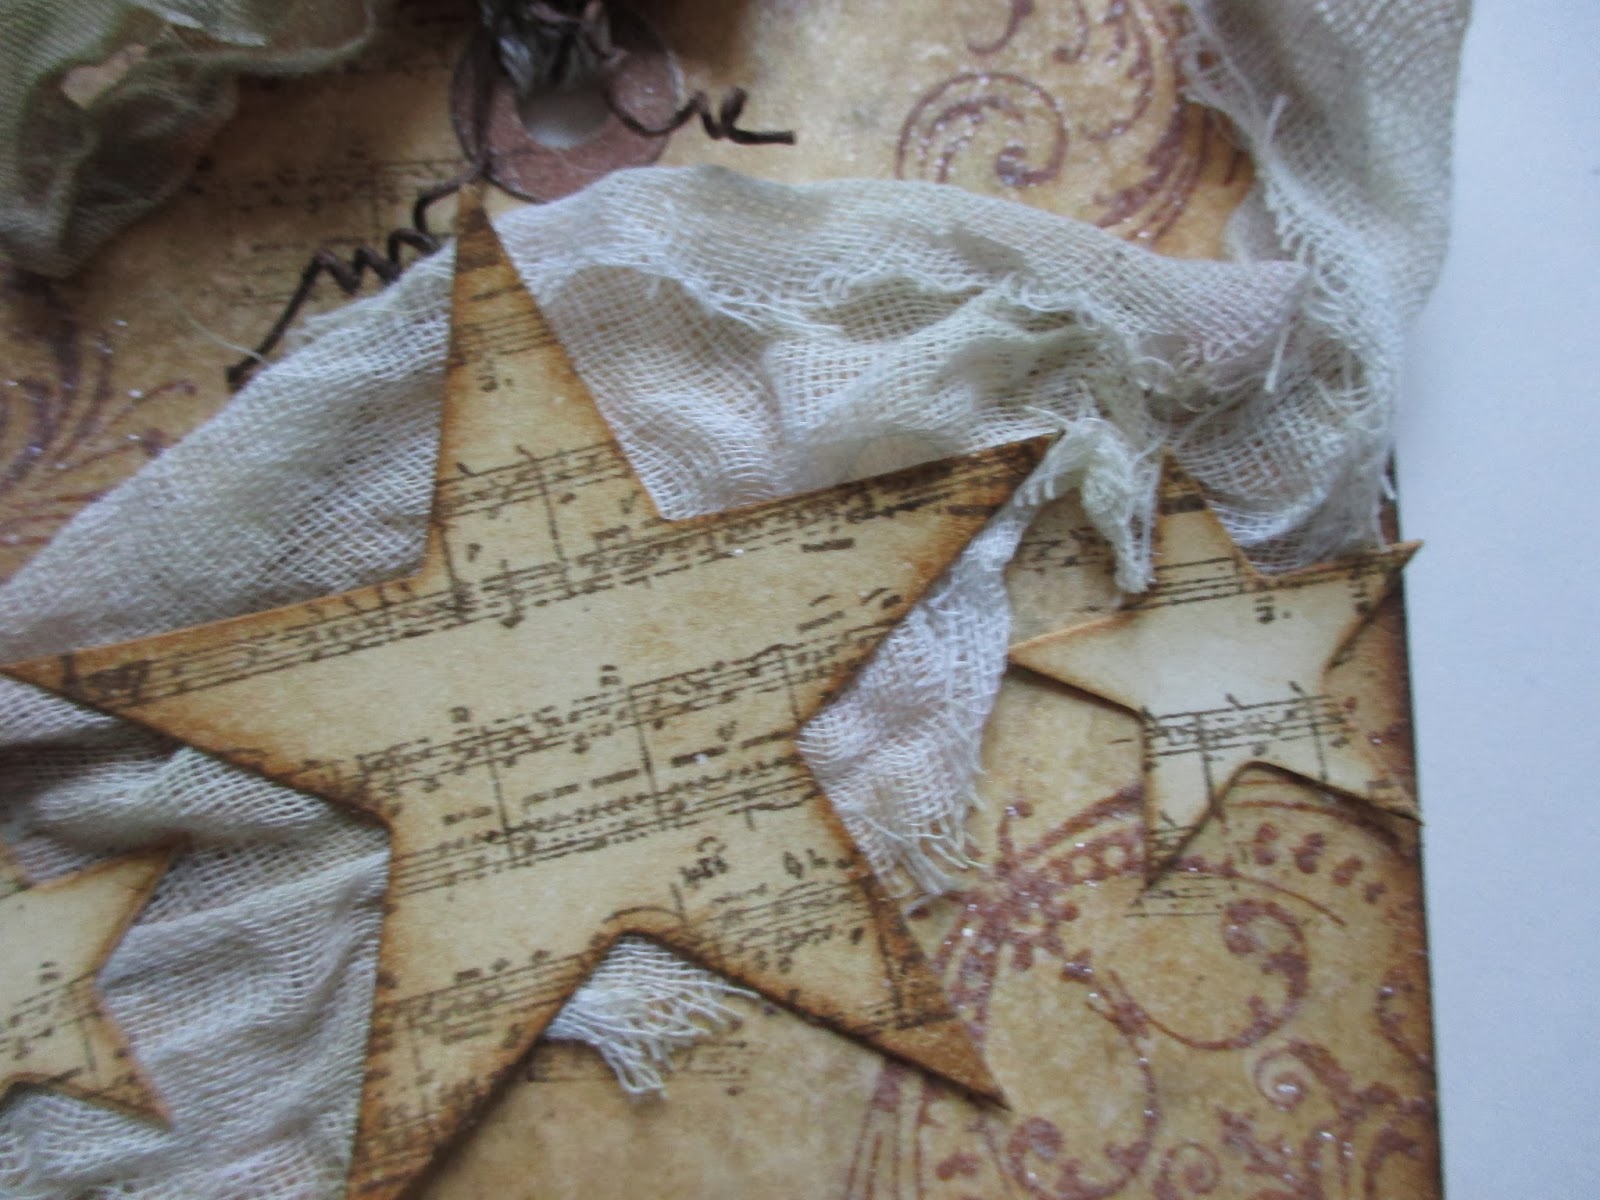
I loved the way Linda had added the stars to dyed cheescloth and added some myself, 


also adding some under the reindeers feet


I added some linen ribbon, love how this frays and some dyed seam binding to the top of the tag, love all the textures this creates . I also added a couple of twirls of rusty wire.


I am linking this up for Linda's twelve tags no 2 . here .

keep shining xx 
love you x

trace x 

Monday, 9 December 2013

What a difference the colour makes for Creative Expressions

Well last week my make for Creative Expressions ..Oriental Blooms , was full of rich and fairly opulent colours...so I decided to create a similar piece in different colours to show how much difference this can make...and how versatile a stamp can be ...just by changing the colour. So here again is a reminder of the stamp I used...Henna Mandala:


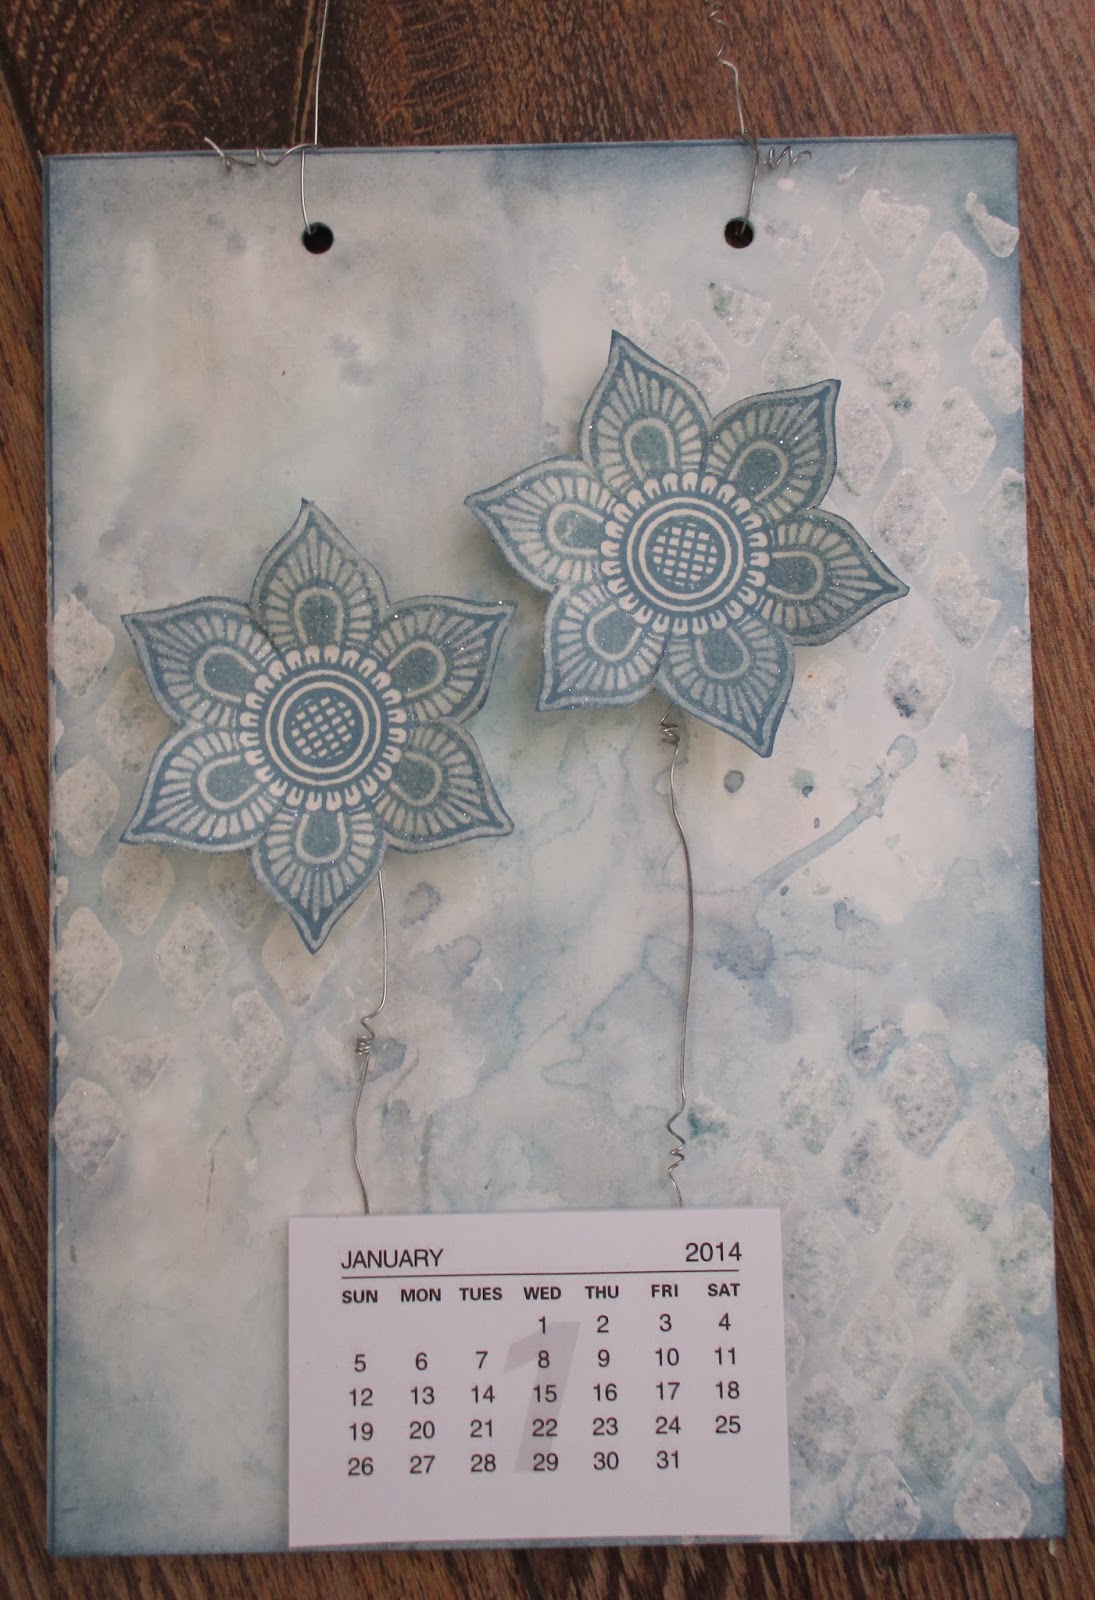
And here is my make for this week :


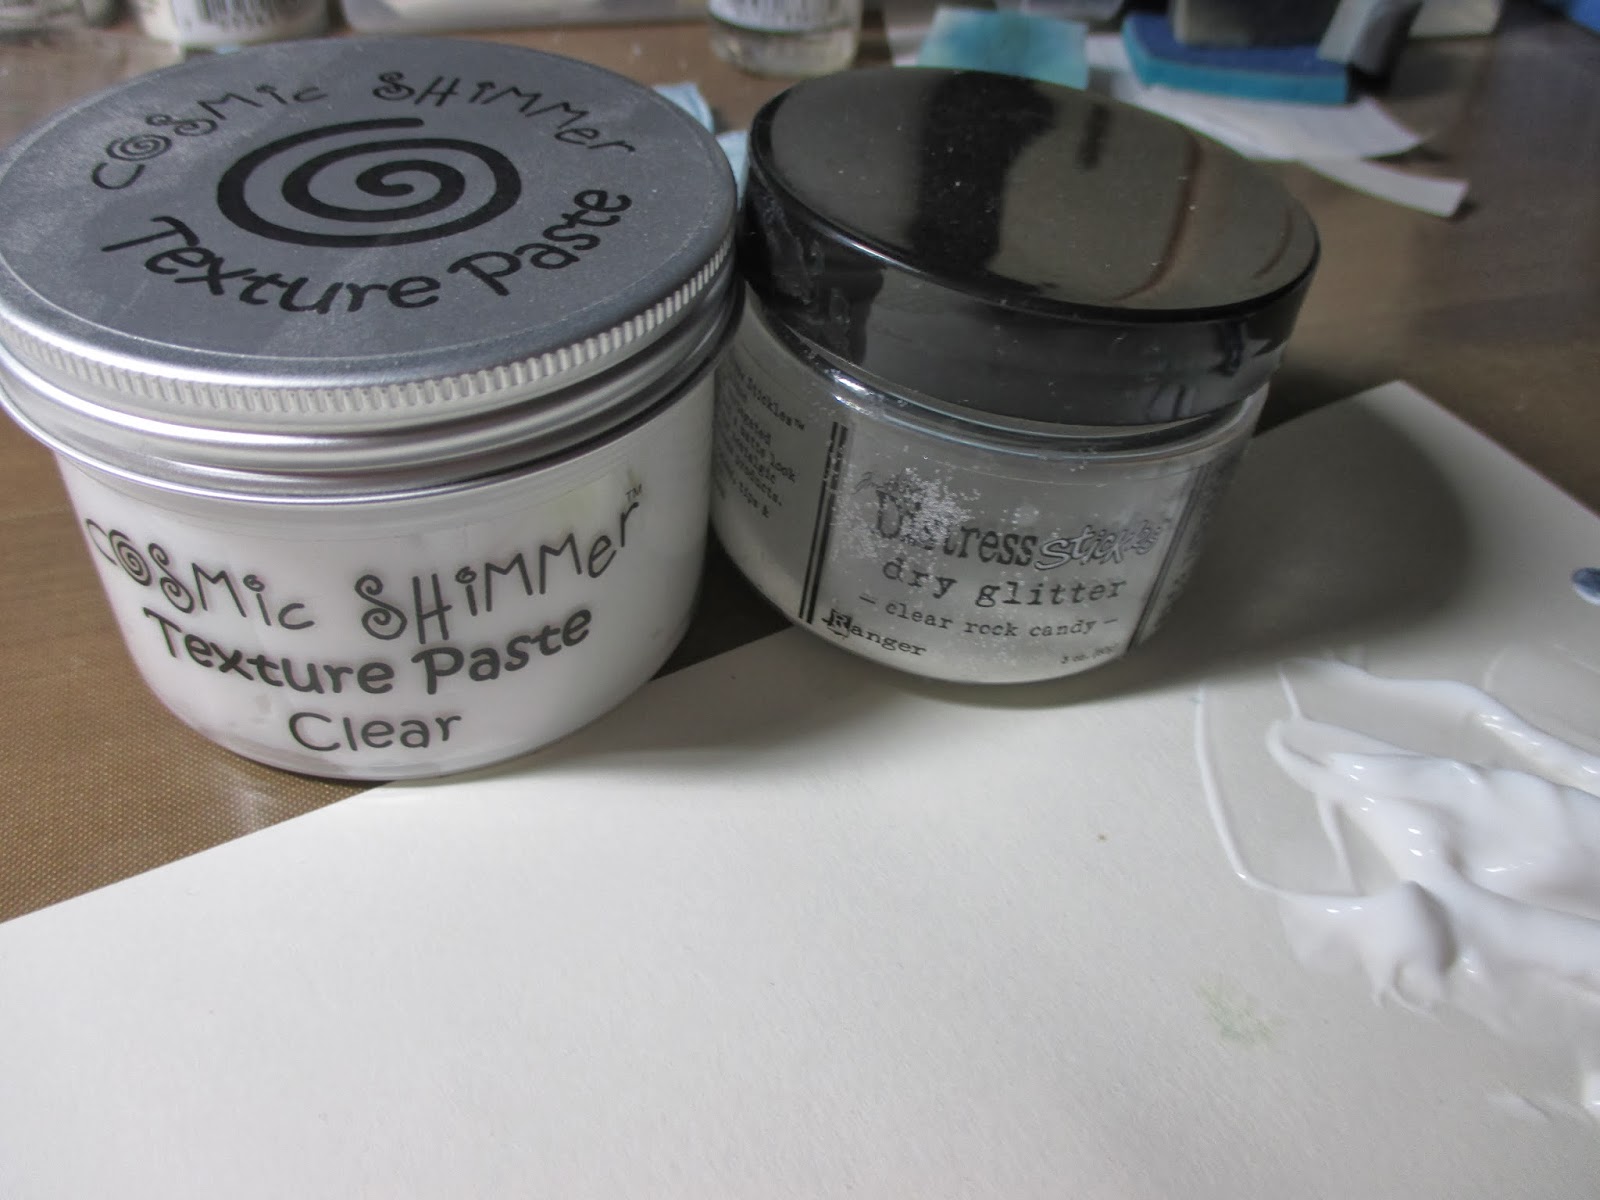
So for this piece instead of adding texture paste and paint I mixed some clear texture paste with some distress glitter ( rock candy). I wanted the piece to have a sort of frosted flowers and icy feel. 

I mixed the clear texture paste with the glitter and applied through the chicken wire stencil.Then left to dry.


When dry I added water and stains to create a wintery blue colour, spritzing with water allowed some of the shimmer to shine through. 


This time for the flowers I stamped in cornflower blue archival ink and then coated in glue and seal and rock candy Distress Glitter. I love how when they dried they looked almost like they were sugar coated!


Again I added a calendar tab and some wire, silver this time!

So here they are ...and what a difference the colour makes! and the oriental , autumnal coloured make is here .


keep those fingers inky!
Trace x

Friday, 6 December 2013

a sneaky peak for country view crafts

Well just a quick post , to say it is my turn over on the CountryViewCrafts blog and I have a festive project today, so if you get chance hop across and see how I made this :


keep those fingers inky!
trace  x

Thursday, 5 December 2013

a snowflake has its beauty in individuality

Well I have done it...finally made a ..ahem very very late start to the lovely Linda's 12 tags of Christmas, I have been gazing in wonder at the gorgeous tags and entries and am determined to not only make a start...but to get all 12 done! all the details can be found here  and the challenge is sponsored by Linda's fab boutique ..The Funkie Junkie Boutique . So if you fancy playing festive catch up, inspired by Linda's gorgeous tags ...pop across here and have a look.

So Linda's first tag can be seen here  and here is mine:


For my tag I was inspired by lettering, and snowflakes but went my own route with the colours.

So I started with a large #10 tag and a #8 tag and set about creating my base background, I applied some picket fence distress paint to the craft sheet and dabbed my large tag in, dried and then applied Distress ink. I am still totally in love with my Distress paints !


They just create such cool effects! For the smaller tag I embossed the tag using a diffuser and embossing folder which allows some flat space to be created. I then applied Distress paint to the raised areas and then when dry ( ok I blasted it with my heat gun), I applied Distress Ink.


Now for the embellishments, I started by cutting some letters from greyboard , from the fab word play die and also a snowflake border from cardstock and covering in Studio 490 white texture paste, boy this is fab...not that I am a great baker but I went for snowy peaks a bit like you get on some iced cakes!


 I then dusted with rock candy distress glitter, a good sprinkle and left to dry...I know other bloggers have done some fab things with textured paste... and here they are on the tag :


nestled in amongst the snowflakes I added a Christmas muse token and a pearl charm, with some seam binding dyed with tumbled glass Distress Stain.

I layered up the two tags and added some stamped snowflakes using white detail embossing powder.


I then added some flourishes, liberally glittered, some fab new ideaology stars and a gorgeous snowflake from Linda's fab boutique, with an ideaology flower for the centre.


So there is my tag #1 inspired make...11 to go ...!


I will be entering this for Linda's 12 tags of Christmas here 

keep those fingers inky!
trace  x.

Monday, 2 December 2013

Oriental Blooms for Creative Expressions

Well this month over at Creative Expressions we have been given some mounted individual stamps, all from the great new Henna collection. These great stamps all come pre cut and cling mounted ..so you are ready to go.

As always I wanted to try and think outside the box and show how else other than stamping the whole stamp these can be used ..so have made these great flowers from the inside of the Henna Mandala stamp.
So here is the stamp


so hopefully you can see what I have done ...and here is the piece I have created:


I started by adding ivory cardstock to a piece of mountboard. This card is great as it with stands lots of water and inky stuff. I then mixed some copper texture paste with some black soot distress paint , but any paint would do.


I love the rich almost bronze tones this gave . I applied this through a stencil and then added texture by tapping pallatte knife up and down and also dragged some of paste around edges and across the board. 


While the paste was still wet I misted the stamp with water and stamped into the texture paste , re wetting for each stamped impression. I then set about drying it gently and set aside to finish off (remember too much hot heat will cause paste to bubble).


When dry I misted the whole thing with water and the added some stains, drying and spritzing until happy . I used black soot and rusty hinge .


When dry I added some metallic gilding wax in cast bronze, midnight and also golden light. This helps to add interest and highlight further some of the raised areas.


For the flowers I created a piece of card , dipped in rusty hinge and black soot stains and misted and then dried.

when Dry I stamped the Henna Mandala stamp and then cut out to create the flowers. For the centres I added some cosmic shimmer glue and sprinkled in rusty hinge Distress Glitter.


To make this into a useful piece , I added a calendar ...and some rusty wire for stems ...and resisted the urge to add some cogs!


keep those fingers inky!
Trace  x

you can keep up with Creative Expressions DT here 
and also find us on facebook here .