Just wanted to say ... thanks for taking the time to stop by, hope you enjoyed your visit.x

Saturday, 6 September 2014

Thank You

Just to say a huge thank you to all those who have taken the time out of their busy lives to stop by and also to a huge thanks to all those who have left comments... I appreciate each and every one !

Trace x 
keep those fingers inky!

Friday, 5 September 2014

Friday focus for Frilly and Funkie sneak peak...Brett Weldele stamp

Well Trace here and it is my turn for the Friday Focus and I am so lucky as the focus is the Brett Weldele stamps. He has an amazing style and I loved his stamps from the first set that was brought out with Tim Holtz. He now has some more sets and they are great fun to use.... make sure you hop over here to Frilly and Funkie to see lots of makes.... also I have a post up for A Vintage Journey and that can be found here. Busy busy...

here are a few sneaky peaks :

  and 

there are lots more and all can be found here ...

keep those fingers inky!
Trace  x

always and forever for A Vintage Journey

Well it is time for another challenge over at A vintage Journey and the theme this time is with a flourish...alll the details can be found here. So here is my piece :


I started with the new motif resist paper and it is gorgeous xx I played with some sofetr colours of stain for me to create the background., added to mdf plaque and edged with dried marigold distress paint, inking edges when dry with walnut stain.

For the foal point this gorgeous picture from the found relatives pack, just love this...I scuffed distressed and inked.


I added plenty of idea-ology on the piece and some of the great rub ons . film strip always seem to go well with these photos. I dyed some seam binding and scrunched to dry , in a really soft colour.

I added flowers , made suing tattered floral die with idea-ology centres and die cut flourishes.


I love how the motif paper flourishes look too against these softer colours. More idea-ology in the form of a muse token smudged with treasure gold.


I added this fab metal embellishment which was coated with glue and seal and then rock candy before adding paint and stains.

These are not colours I usually use buut I am really pleased, for once, with how this turned out!


Thanks for stopping by, I am busy today as I have a Friday focus up for Frilly and Funkie today too, with wonderful stamps...

keep those fingers inky!
Thanks to everyone who has found time to leave comments or stop by...life has a rather busy schedule for me so sorry as my visits and comments have been a little lacking...
trace  x

Wednesday, 3 September 2014

Bloomin' beautiful

Well the new challenge has stared over at Frilly and Funkie and the theme this time is A Summer Garden. There are some gorgeous pieces over at Frilly and Funkie to inspire you so make sure you hop across and have a look. Here is my make:
I admit to have struggled with this and when Steve suggested a hanging basket I decided to give it a go...I used dried marigold..a colour I can honestly say has never been a much used colour and I have to say I am feeling the love for it now! 
I stared by using a papier mache cone and painting and colouring it using distress paints and satins. I added some patches of rock candy and when dry smudged paint and stain into the crackles.
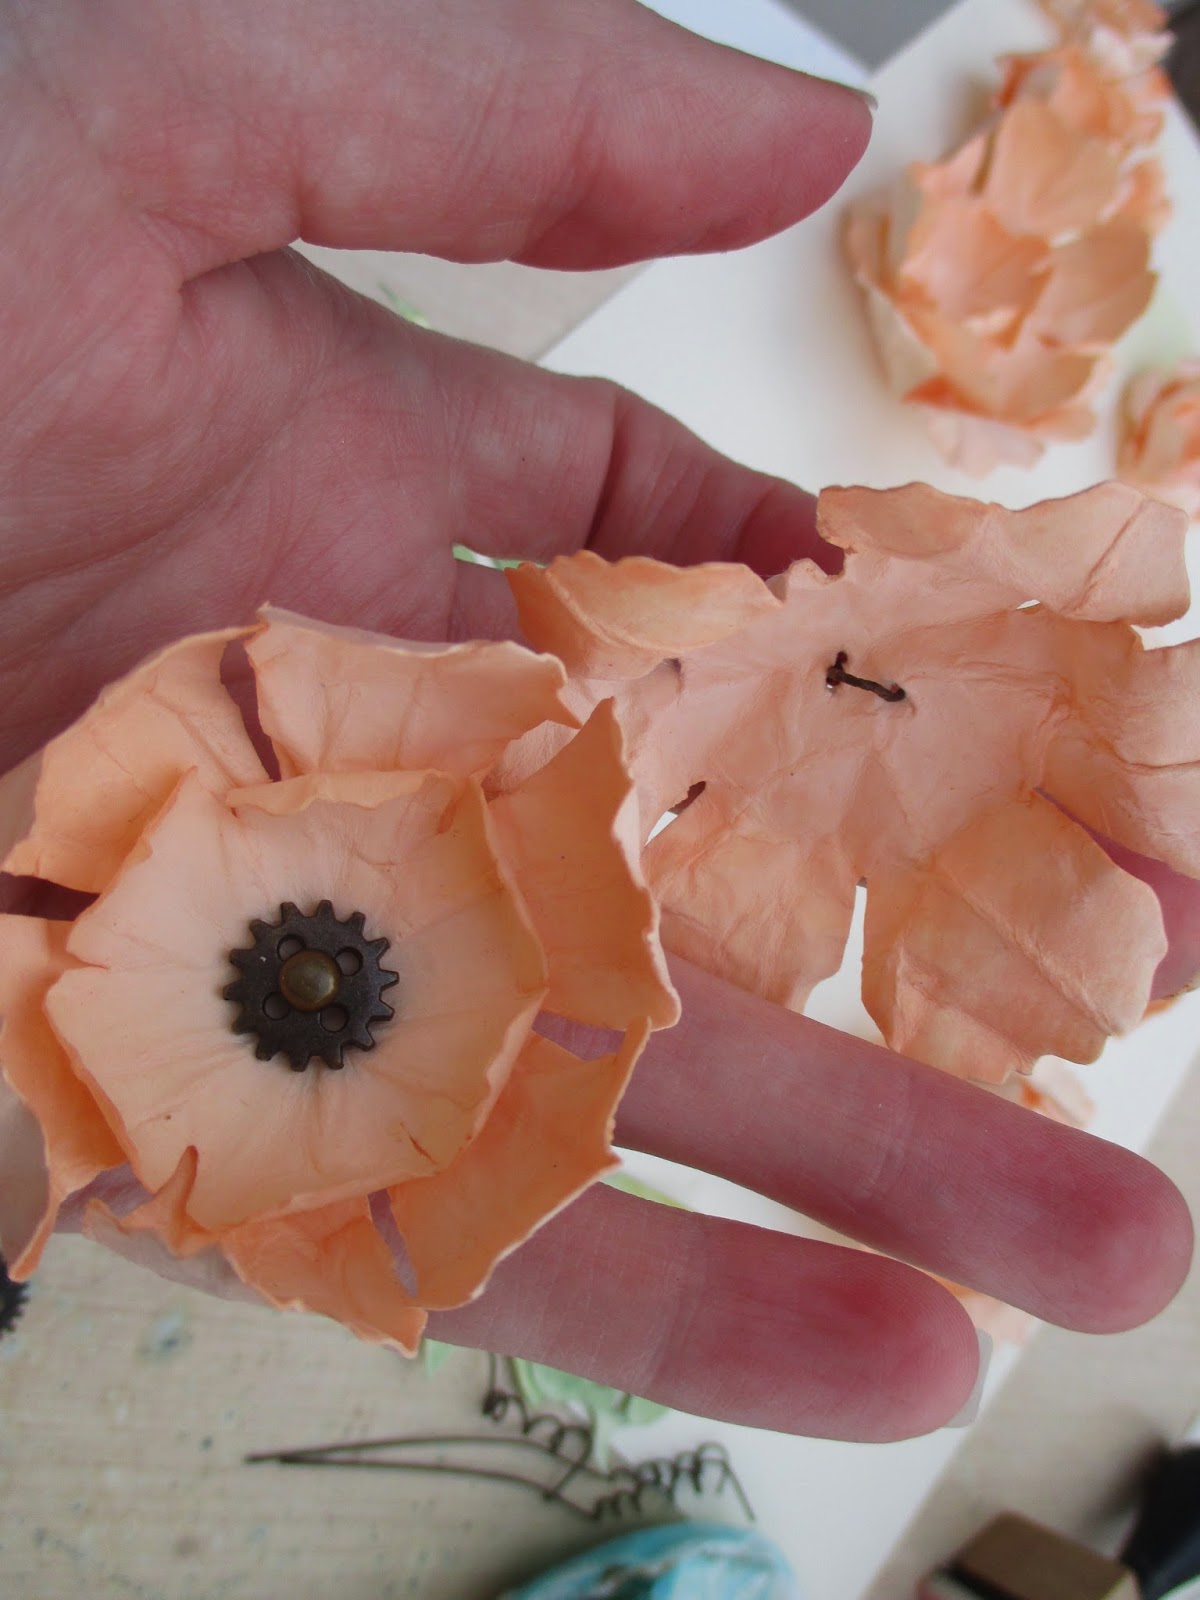
Now for the inside...I stuffed the inside with some serviette, lightly dabbing the top one with ink in case any showed. Then for the flowers. I coloured them both sides with distress stain..and left to dry slightly. 

I then spritzed each with water, let it soften the card slightly, scrunched up crinkling the petals and left to dry overnight.

I then carefully unfolded and shaped each petal using a pokey tool and my fingers. Now for the centres and how to keep them in the basket! This proved a little tricky! In the base layer I threaded through some paper coated wire.


For the top 2 layers I added a mini gear and fastened these 2 layers together and then glued the top 2 layers into the bottom one..
I added the leaves on , die cuts inked up and the added some of the smaller flowers securing through cone. 
Some I glued on. Then the larger flowers wires were pushed inside and poked through serviette .
Finally I added some jump rings and chain to hang the basket. I doesn't look at all how I imagined!
The products are listed below and there is still another week to be in with a chance to win a voucher to spend at Linda's lovely and jam packed boutique...remember you have to be in it to win it! So hop here to join in .x

Monday, 1 September 2014

Live a life of adventure for CountryViewCrafts DT

Well another month and another challenge over at Country View Crafts challenges and the theme for this month is Nautical. So inspired by a vintage photo find here is my Nautical make :
When I was looking through a pile of my collection of vintage photos I came across this handsome chap and decided he was to be the focus of my first nautical make . On the back of the photo was this name : Capt Jermyn of SS. Berengoria ....so this is for you Capt Jermyn x
I started with some mountboard and covered wit Tim Holtz paper, inked distressed and generally messed around inkily until I was happy. I then collected together lots of elements that I thought I might use..I find this a great way of collecting together pieces, that I may or may not use in the end...you can then move them around and add to or discard pieces along the way .

So onto my focal photo, he just looked so proud, full of life and adventure and I just kind of went form there..I love this photo and hope he would have liked what I did with him x I scuffed , inked and distressed the edges and added onto more paper stack. Lots of idea-ology added in.
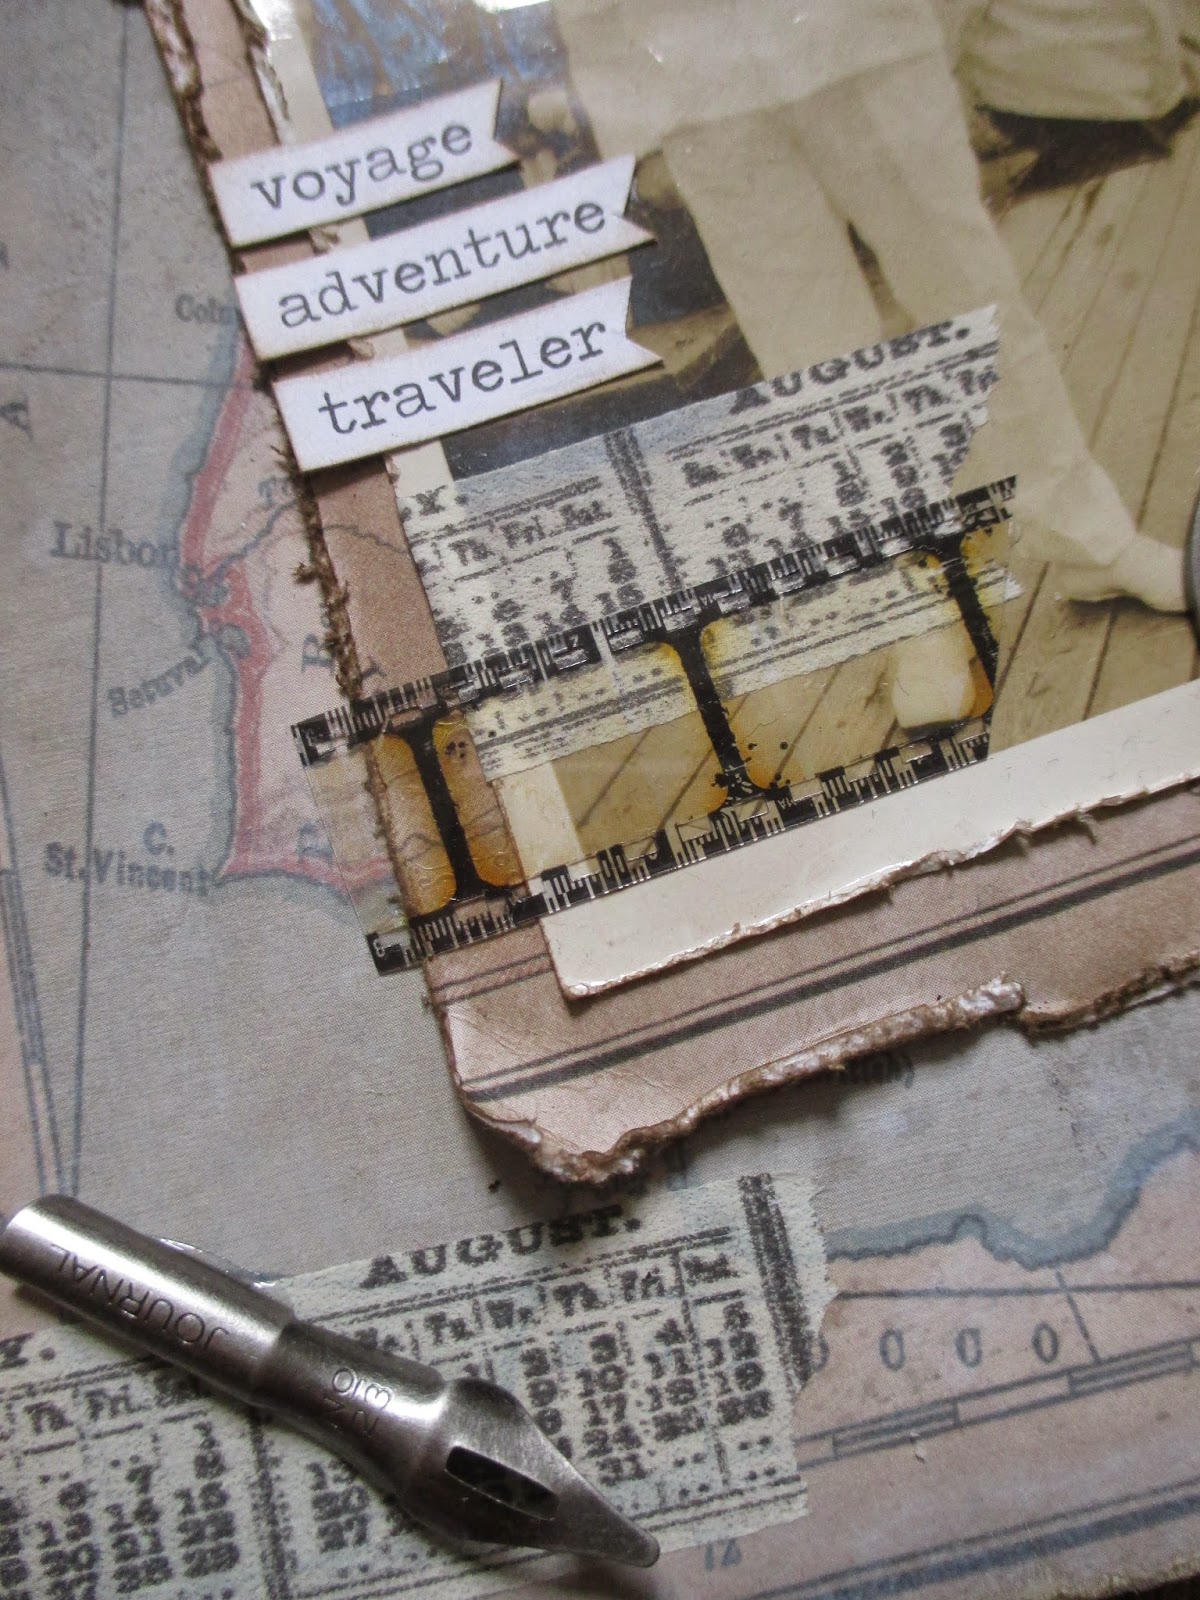

I added some of the vellum tags from the new packs of ephemera and some more idea-ology.


To carry on the nautical theme I added one of my much loved blueprint stamps and layered the middle element, lots more inky distress here .


I love chit chat stickers to add those few words onto a piece and of course some tissue tape and film strip is never far away...I even managed to resist adding a cog!


I made a little pocket watch using paperstash, glossy accents an type charm and a swivel clip.


Finally a little wire and some more tissue tape to tie the design together.


make sure you hop across to see all my team mates amazing nautical makes and hopefully you will find time to join in the fun x

keep those fingers inky !
trace x