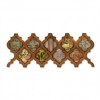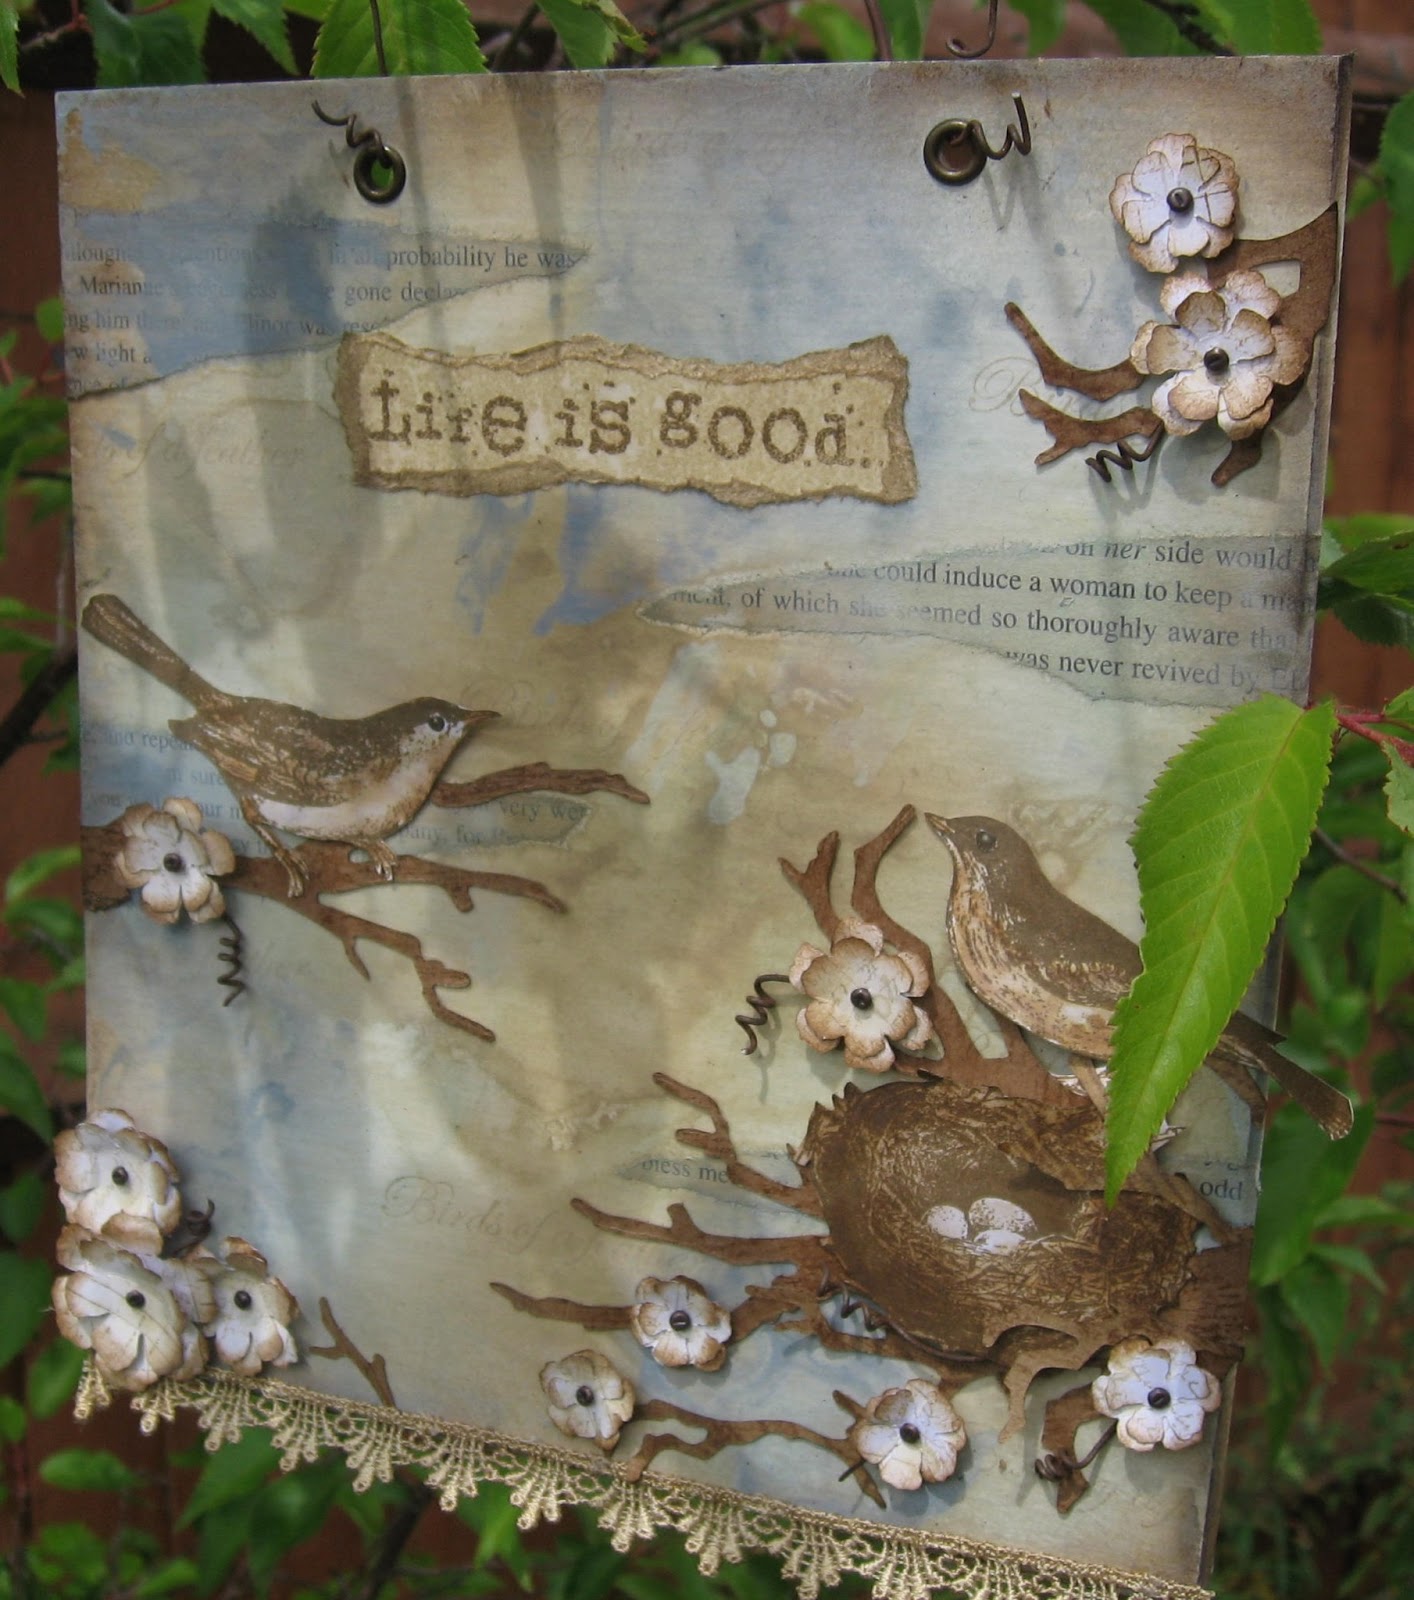


Rather than leave the surface inside plain as as stencils are the name of the game I used some distress ink and this great layering stencil ( a real favourite ) to add some detail inside ...forgot step by step picture but you can see the stencilled details here :

The box is now ready to be glued and embellishing fun can begin!
Now for the book, I cut the smaller ATB die out of thinner card and then trimmed so I had some nice squares that I knew would fit inside. I used more distress ink and layering stencils to add detail and then used tissue tape to attach all the pages together in accordion fold style.


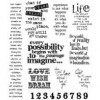
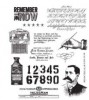
To add a bit more detail to the pages I added some script stamp , using stamp un mounted to get random parts of text.

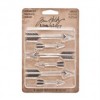
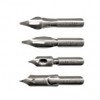
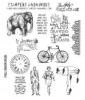
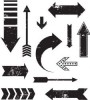
To complete the book I added lots of stamped arrows from here and there Tim Holtz set along with my much loved pointy finger stamp and lots of great quotes. finally adding a pen nib and a little bottle.


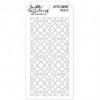
I embellished the inside of the lid with a piece of framework trellis die and also stamped on a piece that fits inside with text from stamp set. I added some more stamps and another little bottle....and you can see the book nestled inside.

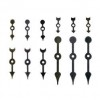
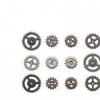
For all the sides I embellished with stamping, trellis framework die and idea-ology. I added little bottles turned upside down for feet for the box to carry on the inky / writing them.


Well thanks if you made it to the end of the post...my typing fingers are rusty but it is great too be back and getting inky! I will be catching up with your blogs soon. make sure you pop across here to see all my team mates makes and hopefully you will be inspired to join in the fun....you could be the lucky winner of a £20 voucher for CountryViewCrafts or a winner of a guest design spot.
See you soon, keep those fingers inky and those hearts full x