Just wanted to say ... thanks for taking the time to stop by, hope you enjoyed your visit.x

Showing posts with label utee. Show all posts

Wednesday, 14 August 2013

I can almost see the sea....

well it is time for another challenge over at Frilly and  Funkie and there is still a week left on this challenge.  
Rebecca's challenge is called By the Seaside... the sand, sea, sun and seawater are the focus of this challenge. We are to use seashells (real or images) and summer at the seaside to guide our creativity!
 
So here is my make :

 
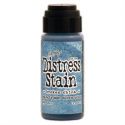
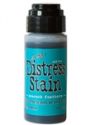
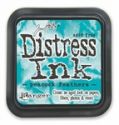
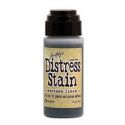
I started with one of Linda's fab large tags , which give great space for adding lots of goodies . I created the background using distress stains, in broken china, tumbled glass and peacock feathers. When happy I over stamped with shells from Artistic Outpost bathing beauties set. I also spritzed with perfect pearls in perfect pearl. I also stamped the dotty stamp from another Artistic Outpost set.

 
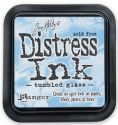
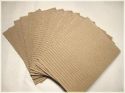
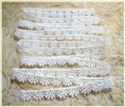
The next layer was a piece of corrugated card, then and inked with  broken china distress ink. I then stamped the bathing beauties onto a piece of cardstock in coffee archival and layered with more dipped cardstock and also some cheesecloth dyed with antique linen stain ( kind of sand colour and to break up the blue tones a little).
 
 
I spritzed with perfect pearls which shimmers in some light...
 
 
I added some more cheesecloth/ muslin dyed with various stains and also some small seashells. I added some driftwood and rusty wire to add more textures. The whole tag was edged with walnut stain DI. 
The sentiment was also edged with walnut stain and is also from bathing beauties set.
 
Now for some of the details :
 
 
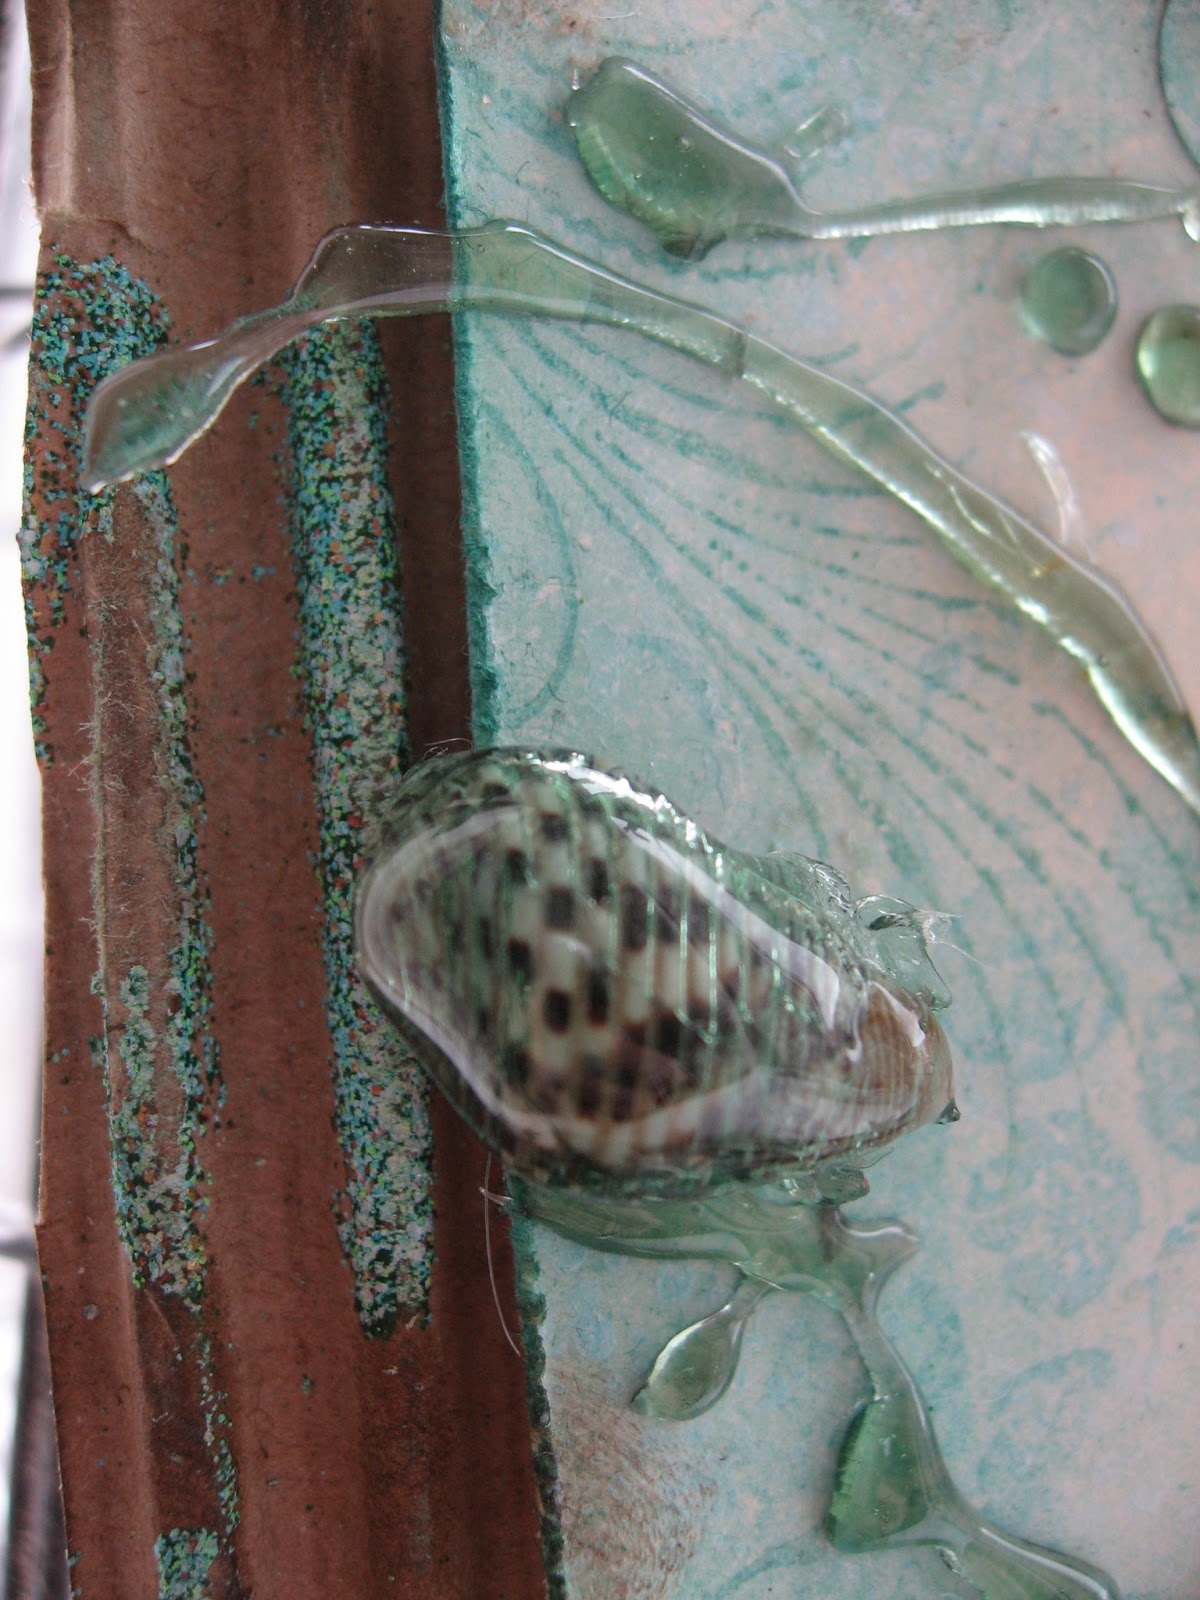
 As well as real shells I made some of my own by making molds of actual shells using mold n pour and the making with clear and white mix UTEE. I also made my own little rock pool by pouring molten UTEE into a shell filled with small real shells. 
 
More real and home made shells were added at the top... as well as idea-ology, some of Linda's lovely venise lace trim, dyed with stains and some seam binding also dyed with stains..
 
 Some more lace and idea-ology at the bottom and the tag is complete , hopefully I have captured some of the colours and textures of the seahsore..
 
 
All the products are listed below, make sure you pop across  here and see the rest of my team mates amazing makes and maybe join in the fun!
 
have a fun and inky day!
trace  x
 

Wednesday, 26 June 2013

going coastal for dragons dream TIO

well it is time for another recipe over at dragons dream TIO and this time from the lovely Elizabeth. The recipe this fortnight is : mica, coastal and a flourish....so all you have to do is make a tag using these ingredients and remember to use at least on real stamp.
So here is my make :
(now i may have stretched coastal a little...but here she is ):


So I struggled with this theme a lot! and decided to go down the sea kind of colours and create some textures too.. So I swiped some embossing dabber across some torn corrugated card and embossed using fab verdigris embossing powder. This became the base for my tag to be attached too.

The tag itself was spritzed using homemade mica sprays using distress re-inkers and perfect pearls mica powder in mini mister bottles. i then over stamped using this fab fancy flourish from Tim Holtz.


not sure if you can see the mica but I promise it is there! I also added some stamping using bubble wrap stamp..now onto the fun bit...

i wanted to create a watery effect and used my marvellous melt pot...now Hels has given me my melt pot mojo back..it has a permanent place on my spare desk...well the one i have kind of taken over...oops...and so it is always out and ready for the off! I melted some clear UTEE and then added some melt art colour ink to add a touch of blue...but as the clear ambered it went this yummy green...for which I can take no credit..


I drizzled some on to my craft sheet and left to cool and then had marvellous fun dunking my shells to give a hopefully watery feel?! well love the way their textures and colours are encased in this glossy globs anyway! (globs being a technical term for something I am sure!?)

 
a smattering of sand and some rusty wire and there you have it...make sure you pop across and see my fab team mates makes who have some amazing and much more coastal makes...


sorry this is late been at the hospital with James and will fill you in later x

have a fun and inky day!
 trace x 

Friday, 24 May 2013

home comforts for creative expressions DT

well here is a quick post from me to share my latest make for creative expressions...in my home comfort colours of the neutrals...after the last colourful make ...didnt want to scare you all off! So all the things I like today...fab new asters stamps..these are yummy, neutral colours and a tag...

So here is my make:


I started by layering corrugated card onto a large tag and then a layer of cardstock to create a place to stamp and add texture. I washed over the whole piece with yummy mushroom eco paint.
Then added some texture using white studio 490 embossing paste through sequin waste and then when dry adding mushroom paint.


In the corners I added some torn kraft resist paper, covered in picket fence distress stain to give a whitewashed look. I also stamped and then cut these fab Asters onto the paper too.


I added some soft text stamping in frayed burlap to the tag background as well...love those layers!

The smaller flowers were made using mini vintage floret set and when cut out a good dip in UTEE in the melt pot ( the centres are long fastners ...add these before dipping in the UTEE)


finally some dyed seam binding, a word band and a washer and fastner for the centre and there you have it!..oh and some twirls of wire...rude not to eh?


make sure you pop across and see how the rest of the Dt have rocked these stamps x

have a fun and inky one!
trace  x

Sunday, 12 May 2013

how does our garden grow part 2

 
well here I am with my second piece for how does your garden grow .. over at country view crafts .... this piece is inspired by the flowers of my first make here but I wanted to show how you could change the colours and also make this into a fun card for any occasion.
 
 
The base card itself was coloured with frayed burlap and then I set too on the embossed panel. This was embossed using this great couture creations embossing folder.. replacements. Once embossed I added colour with broken china and frayed burlap and rusty hinge distress ink. I added some walnut stain distress ink around the edge and some gilding wax.


The flower was created by adhering DIY tape to cardstock, ( you could use ranger foil sheets )cutting out using tattered floral die and then adding a bottle cap centre. I filled the bottle cap with clear UTEE , melted in my melt pot and poured into bottle cap over a philosophy tag .


Finally a rusty wire stem and some silver wire twirled across the bottom. A simple make but I love these bottle tops...and am grateful for Hubby Steve for drinking the beer to provide me with the top!! thanks x

make sure you keep popping by here , as there are lots of pieces still to be seen and still plenty of time to play along with the challenge.

have a fun and inky one!
trace  x

Friday, 3 May 2013

live life in colour for Creative Expressions DT

well here I am with my make for Creative expressions this week, and this time we have some great flowers to play with.. from hearfelt creations...they can be found here and here...so I decided to try something different for me...you can be the judge of if that paid off..so here is my make this week:


I started with some small wooden blocks and painted with mushroom eco paint. I then stamped parts of the block using bubble wrap background stamp inked with broken china.


Now onto the flowers...I started with lots of distress paints smooshed onto mat and card swiped through in colours to make lots of coloured pieces then when dried I stamped the flowers in archival black ink. These were then glued to grungepaper and cut out...not sure all the gorgeous painty backgrounds show...but hey ho! Then I set to cracking out my melt pot filled with clear UTEE.
This makes the flowers look yummy and helps to hold their shape and keeps them stronger.


I added little washers for centres....the hard part attaching to the block....and one of those...Why am I doing this moments!? Anyway they got on in the end..but overall they are ok but wish I had used these yummy flowers somehow else!

The sentiments are from art sayings.


Well I will be back next week with another make
have a fun and inky one!
trace  x