Just wanted to say ... thanks for taking the time to stop by, hope you enjoyed your visit.x

Showing posts with label word play die. Show all posts

Monday, 20 January 2014

tres chic hanging piece for Creative Expressions DT and a huge thanks

Well before I start my post I want to say a huge thank you for all the very lovely comments and also a huge welcome to my new followers. I appreciate each and every one of your comments and each and every new follower who has taken the time to stop by my blog.

It was a rather busy week last week sorting my son out but here I am hoping to do a better job of commenting and blog hopping this week! 

So this month we have had the antique dressforms to play with and this week I have a hanging piece, again the computer has decided in its wisdom that you don't need the step by step photos and wont let me have them so here we are :


So as I don't have all the step x step pictures I will just give you a quick whizz through and spare you the lenghty post ....she says ...you can live in hope that my posts will be short and sweet! I tarted with an offcut of mountboard ..am hooked on playing with this stuff..which I covered with a piece of ivory card as I love how it takes inks and stains .


I applied some texture paste mixed with paint through a yummy Tim stencil, left to dry and then played with stains to create a background. A bit of flick and spritz to add some detail and interest .

Now I collected some papers ( Tim ones ) together and gave a coat of picket fence stain to tie all the colours and soften the design slightly .

I also used a heartfelt creations die to cut some flowers from the same papers and added a long fastener to the centre.


I added some of the great Creative Expressions cream crochet lace to tie in with the colours and vintage feel. 

now for the stamp....which I used as the focal image, I stamped this in jet black archival onto a piece of cardstock coloured with Distress Ink.


I also added a chit chat sticker and also some lettering ( die cut from word play die ) to complete my vintage style hanging. This shows how one really good stamp can be the basis for a larger piece and this set has some great dressforms to choose from. To hang this piece up I added some holes at the top and some rusty wire.

Well I will see you here next Monday for my final piece using these stamps ... and there will be some more crafty makes before then...

may your hearts be full and happy  xx


Wednesday, 27 February 2013

share a word and layer it up for Frilly and Funkie DT

The challenge this fortnight over at Frilly and Funkie hosted by Sue is to share a word and layer it up. There are some amazing DT makes so make sure you hop across to have a look. Hopefully you will be inspired to join in as the challenge is generously sponsored by the lovely Linda and her shop the Funkie Junkie Boutique.

As I am still trying to be good, and rest my hand, this post is being typed by hubby Steve. I am finding it hard not to get my hands on the keyboard!!!!

So my word is Love and I have chosen to create my layers using my yummy new distress paints, dylusions sprays, and distress inks in. I have decided to have another bash at journal pages in my own kind of way.

Here is my make:


One of the fab things about the new distress paints is that once dry they do not re-wet and can therefore be used as a resist for other inky layers. I started by applying distress paints through dylusions stencils (all the supplies I have used, which are available from the Funkie Junkie Boutique, are detailed below). I then dried these with my heat gun.


I spritzed the page with water then the dylusions sprays, and a bit more water for good measure, allowing the colours to bleed then blotted off using kitchen roll and dried thoroughly.

I added torn pieced of tissue tape coloured with distress paint to create another layer of interest.


I then set to work using various stamps and distress inks and applied them over the background in random fashion. I love how the distress inks and sprays coordinate so well together....


The main heart was cut from an old book page glued to card and then embossed with the music score embossing folder and then inked with walnut stain distress ink. I then added a twirl of rusty wire for good measure and added to the page. To add definition to the page edges they were inked with walnut stain and peacock feathers distress ink.


The word Love was cut from card stock using the word play die, coloured using walnut stain distress paint and when dry edged with antique linen distress paint. Finally I added some stamped words to create phrase "fill your heart with love".


There is still a week to go of this challenge so hopefully you will be inspired to play along.

I am entering this for simonssaysstampandshow - as they want to see un-inked stamps, and I love the ultimate grunge set and have had it for a long time but most is as yet un inked until now..
http://simonsaysstampandshow.blogspot.co.uk/

I would also like to enter it for love theme @ http://blog.inspirationemporium.com/?p=1360


Have a fun and inky day!

Trace x

Wednesday, 30 January 2013

spruce it up..for Frilly and Funkie DT

Well here I am with my make for the current challenge over at Frilly and Funkie and the theme this time is spruce it up! Think about those items on your desk, or in your crafty space that could be spruced up.There are some wonderful spruced up creations on the blog here, so why not getting sprucing up and join in the fun! 
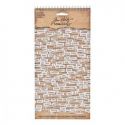
So here is my make a spruced up pencil box with a twist:


and the inside..
 
 
Instead of using this spruced up plain pencil case for pencils I decided to make some inspiration stick for those moments when my mojo is missing, to give me a kick start. ( more about those later!)
 
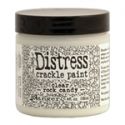
 I started by painting the plain paper substrate box, with a brown paint, layering with crackle medium and then when dry painting in paperartsy nougat colour. Then let the sprucing up fun begin.
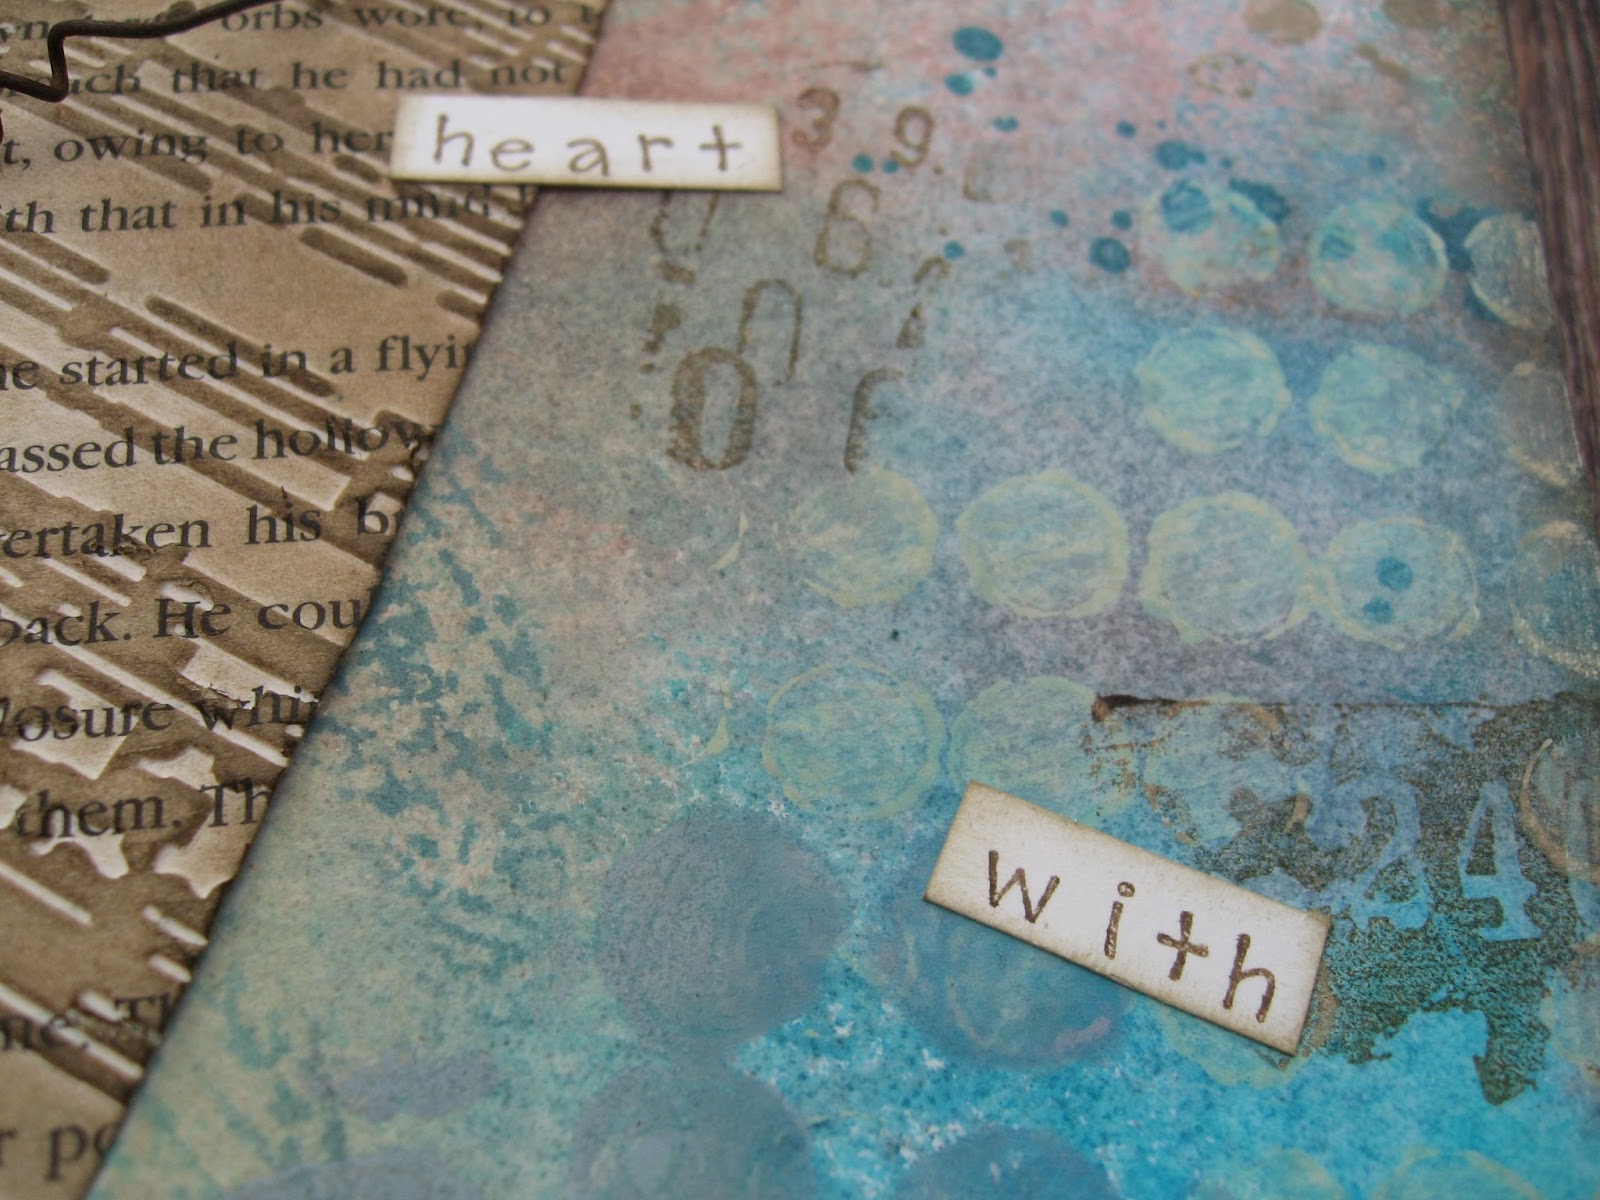
I inked the box with my much loved, vintage photo distress ink and when dry added a second layer to the edges, I also lightly inked inside the box.
 
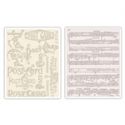
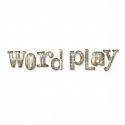
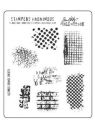
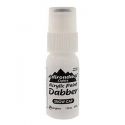
The lettering for the top and inside of the box was cut from grungepaper using Tim Holtz word play die..( fast becoming a firm favourite!).I coloured the letters up using snowcap paint dabber and then when dry stamped the music script from Artistic Outposts ephemera backgrounds..I love the look that this stamp gives...When the ink had dried I edged the letters with vintage photo DI.
 
 
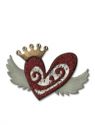
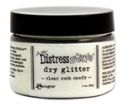
To complete the front of the box I die cut a heart using movers and shapers die from grungeboard and again applied snowcap paint dabber to it. when dry I applied a good coat of another favourite of mine, distress rock candy and left to dry. When dry i added vintage photo and pushed this into the cracks ( shattered stains technique from Tim Holtz ). I also added wings ( no surprise there then!) which had been stamped and inked in same way as letters.

 
The inside of the box had lettering and wings,


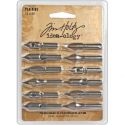
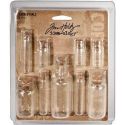
a small heart and also a little bottle filled with another favourite loose distress rock candy glitter, a pen nib and also a chit chat sticker as a label.

 
Now , if you are still awake the inspiration sticks:

 
I started with some blank wooden lolly sticks, painted with snow cap paint dabber, and when dry stamped with music stamp ( Artistic outpost ephemera backgrounds) and edged with distress ink.
Then I set too typing out some of my favourite elements and supplies into a vintage style typewriter script, then tore out and inked the edges.
I then glued these to the sticks.

 
So now when my mojo is missing, I will be able to challenge myself to create art and  use a stick and combine all elements, two from a few sticks..well the possibilities are endless!
 
So I hope you will join in the fun here and hope that you like my make. I have loved making this!
 
Thanks to everyone who takes the time to follow my journey and leave such lovely and treasured comments!
 
have a fun and inky one!