Just wanted to say ... thanks for taking the time to stop by, hope you enjoyed your visit.x

Showing posts with label tattered floral die. Show all posts

Friday, 17 July 2015

A simple softness

Well you know me and the whole photo booth and found relatives I love them and this make features another so hope you're not too bored of them!

This piece was again created on a piece of mdf board...covered in some of the resist paper stack, plenty of distress goodies and then of course my found relatives picture centre stage..:


I started with soft blue tones and then dried and added walnut stain distress around the edges.  I love working in single colour tones but love the combination of blues and browns..they work so well together.

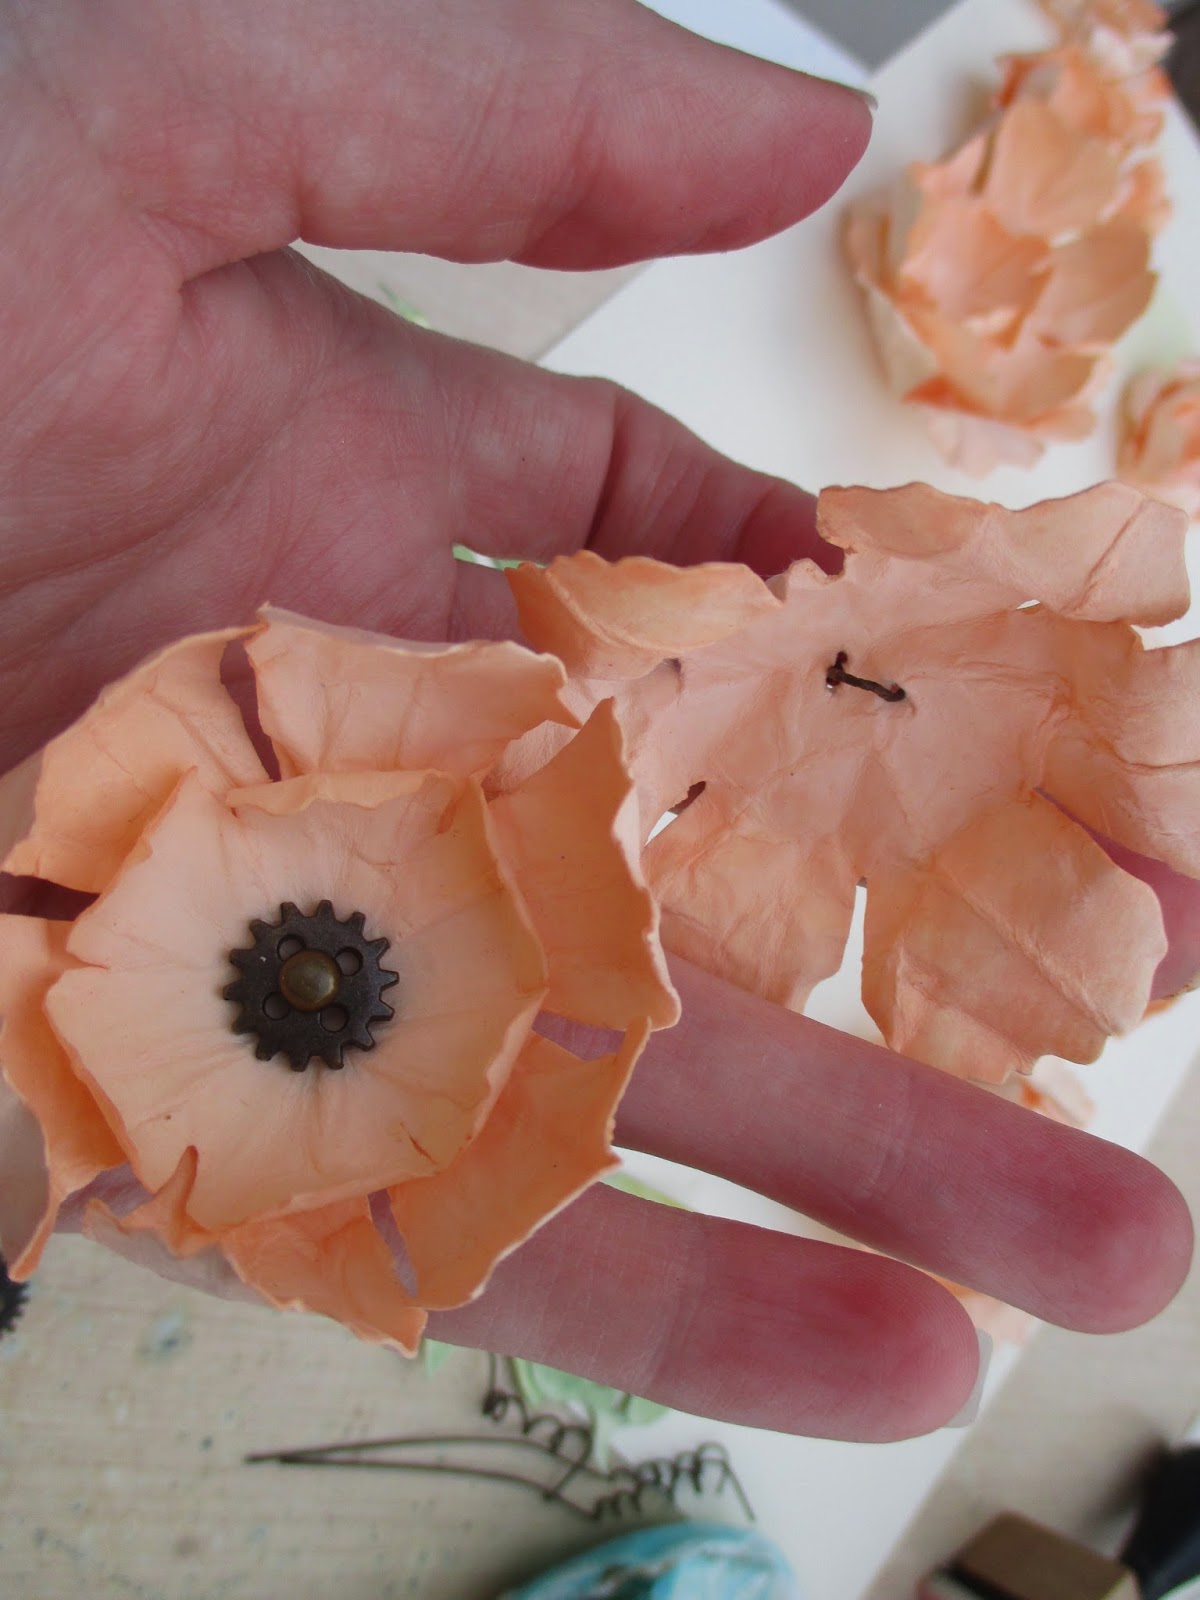
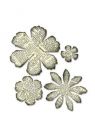
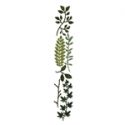
I added some flowers, coloured with distress and cut from jumbo tattered floral die, with little
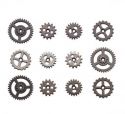
 idea-ology gears for centres. I added some dyed seam binding and a muse token in the same colour.


I love the spring / summer feel of this photo and so added the gorgeous idea-ology butterfly


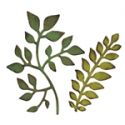
i added some string for the natural feel and added some flourishes cut from a Tim die, painted and crackled then inked behind the found relatives picture...and some film strip.


Here you can see the crackle with the ink rubbed into the cracks, its so simple and yet looks so effective I think.


The flowers had some idea-ology foliage leaves added behind them to compliment the gears for centres..


And  the muse token says enough that I didn't feel I needed to add any sentiment to the piece.


I know it is similar in layout to a piece I have done before but I love how by changing the picture and the colour scheme it can still look so very different!

keep those fingers inky!
and painty!
and those hearts full x
trace x

Friday, 3 July 2015

The journey awakens the soul for A Vintage Journey.

Well it is going to be a busy week on the blog and today sees the start of the next journey over at A Vintage journey and the theme this month is Destinations.

Now as a huge fan of the found relatives I used one to inspire this piece...I love how each image seems to have a story to tell and this showed the way to Paris for these two young people to share and celebrate their love.

 I am not great with words so will let my crafting elements tell the story ....


I started by covering a mdf board with paper from the French Industrial paper stack with the Eiffel tower on it , covering with picket fence distress paint and smudging and hen adding areas of clear embossed script. 
I edged the board with tissue tape to finish of the sides of the board.


Now for layers of ephemear from the gorgeous Tim Holtz ephemera packs and also some pieces from the pocket card packs. I scuffed the edges and inked with walnut stain distress ink.

I tied a bow around it using seam binding coloured with tattered rose distress stain .


I just love this colour and it has to be added to my favourites list .


Here is a close up of the embossed text ...


I die cut some trellis using the new frameworks die from thick card, I coloured the card with antique linen distress ink and then covered with a layer of Decoart crackle glaze. 
When dry I rubbed walnut stain distress ink across the surface and into the cracks.


here it is against the background.


I scuffed the image and sanded it and added some tattered rose colour to the flowers using tattered rose distress marker.


Here is the finished piece I added some tattered rose flower embellishments, adding some buttons to the centres.


I added a stamped image of the Eiffel tower using the framelits set and die cut, inked and then covered with crackle glaze and when dry rubbed ink into the cracks. I added a scuffed and inked flashcard, a die cut heart..inked , crackled and then with ink rubbed into the cracks.

I lightly inked the flowers with tattered rose distress ink and also added a word band from idea-olgy range.


here is a close up of the Eiffel tower..


So I do hope you like my make and make sure you hop across here to see all my team mates makes..you won't be disappointed! 


You have a whole month to join in the fun and could be a guest designer or win a voucher for Country View Crafts our generous sponsor.


Wednesday, 3 September 2014

Bloomin' beautiful

Well the new challenge has stared over at Frilly and Funkie and the theme this time is A Summer Garden. There are some gorgeous pieces over at Frilly and Funkie to inspire you so make sure you hop across and have a look. Here is my make:
I admit to have struggled with this and when Steve suggested a hanging basket I decided to give it a go...I used dried marigold..a colour I can honestly say has never been a much used colour and I have to say I am feeling the love for it now! 
I stared by using a papier mache cone and painting and colouring it using distress paints and satins. I added some patches of rock candy and when dry smudged paint and stain into the crackles.
Now for the inside...I stuffed the inside with some serviette, lightly dabbing the top one with ink in case any showed. Then for the flowers. I coloured them both sides with distress stain..and left to dry slightly. 

I then spritzed each with water, let it soften the card slightly, scrunched up crinkling the petals and left to dry overnight.

I then carefully unfolded and shaped each petal using a pokey tool and my fingers. Now for the centres and how to keep them in the basket! This proved a little tricky! In the base layer I threaded through some paper coated wire.


For the top 2 layers I added a mini gear and fastened these 2 layers together and then glued the top 2 layers into the bottom one..
I added the leaves on , die cuts inked up and the added some of the smaller flowers securing through cone. 
Some I glued on. Then the larger flowers wires were pushed inside and poked through serviette .
Finally I added some jump rings and chain to hang the basket. I doesn't look at all how I imagined!
The products are listed below and there is still another week to be in with a chance to win a voucher to spend at Linda's lovely and jam packed boutique...remember you have to be in it to win it! So hop here to join in .x

Wednesday, 19 February 2014

open the door to the secret garden.........for Frilly and Funkie DT

Well it is time for another challenge over at Frilly and Funkie and the theme this time is bloomin marvellous...chosen by the lovely and talented Jenny... so here are the details...

Hi there. Jenny (Buttons) here to host the latest challenge here at Frilly and Funkie. Flowers are a definite winner at any time of the year and for all occasions, and we saw lots of them at the recent Winter 2014 CHA show. With all those new dies and stamps hitting the shelves it's time toshow us your blooms (flowers)! The twist is they must be handmade. Put them on tags, cards, home decor pieces, whatever you like. Then share them with us here to be in with a chance of winning a Guest DT spot here at Frilly and Funkie or a $25 spending spree at The Funkie Junkie Boutique!

Remember, to enter you must create a new project, link it below and make sure you add a link in your post back to this challenge. You can combine our challenge with up to 10 challenges (including this one) to be in with a chance of winning.


I decided to go for a sort of hidden garden / secret garden using my handmade flowers...I love the idea of a hidden or undiscovered little haven...peaceful and enchanting...

so here is my make ( sorry about the sunshine on the photo ...but loved the glow it gave in a funny kind of way!) :


So I started by creating a collage style ish layered background using layers of texture paste, through my new doily stencil....


inks, corrugated card given a good spritz ( with re-inker sprays...).I love playing with distress in all its forms..


Like flowers themselves bloom and grow so did this piece , evolving and changing as it went and I loved every second, can you tell!?


a large tag layered with die cuts, painted with gesso and sprayed ..ooh and some more trails of hot glue!


Then onto the flowers for my hidden little space....made using the tattered floral die....and of course some cogs...and rusty wire...well I had too !


I had such a great time getting lost in the moment making this piece, which didn't turn out at all how I had imagined but never the less a fun journey and enjoyable creating...and that makes for happiness in itself!

For some more beautiful blooms make sure you pop across here to see some fab makes from my team mates. Hopefully you will find time to join us and make some blooms of your own and join in the competition.

keep those fingers inky!
Trace x