Just wanted to say ... thanks for taking the time to stop by, hope you enjoyed your visit.x

Showing posts with label melt pot. Show all posts

Wednesday, 22 January 2014

from the heart for Frilly and Funkie challenge DT

Well it is time for my latest DT piece for then latest challenge over at Frilly and Funkie and here are all the details :
This time Rebecca has a wonderful new challenge for you;
'The Warmth of Winter' - this time of year we can bring warmth to those who are feeling the chill! Create a card, tag, ATC or any other project that will warm the heart of someone dear to you. And just to clarify, this is not a Valentine's challenge.

Remember, to enter you must create a new project, link it below and make sure you add a link in your post back to this challenge. You can combine our challenge with up to 10 challenges (including this one) to qualify. If you are chosen as our winner you could be invited to be the next Guest Designer here at Frilly and Funkie. There is also the chance to win a $25 shopping spree at The Funkie Junkie Boutique for one lucky entrant chosen at random.

So I decided to go for a gift, tag and gift bag for a friend , so here they are :


So all three pieces use similar colours and some beeswax...oh yes still on that! 
So for the canvas first, I am trying to push myself to play more and experiment a little and also learn and play with techniques, so the challenge here was that the canvas was tiny..but you know me there had to be some idea-ology on there !
I covered the canvas with melange tissue, forgotten treasure in my crafty room, stamped a sentiment onto one ply of a tissue (thanks Hels for the tip!). I then added some beeswax around the edges to create texture. I die cut and coloured a butterfly which got a dip in the pot too, and also a butterfly cut from some Tim paper also got a bit of colour added and a ceremonial dunk! 
 I also added some gorgeous paper coated wire, a pen nib ...these gorgeous fractured dolls ( which I dripped with wax , not sure of you can see that?) and some film strip ...not bad for a teeny canvas about 3" square! To complete I brushed with perfect pearls to create a shimmer.
Now for the tag , well similar techniques were used here so i won't bore you by going over them...
To add texture I added some dyed cheescloth behind the butterfly and also added a die cut heart dunked and brushed after stamping with scrummy Tim Script. I also added some seam binding to the top of the little tag that creates one of the layers.
Finally the tag itself , mostly using same techniques again..but a little play with wax crayon, yes I had to ask Lucy if I could borrow, a wax crayon...sadly it is not fit for her use any more but she was okay with that , bless her!
Again lots of wax , idea-ology and tissue paper... and can you spot the wax crayon?
so make sure you pop across and see the other fab DT makes and also maybe join in the fun!

Thursday, 16 January 2014

have courage .. for countryviewcrafts monotone challenge dt piece

Well here is my second piece for the month for the challenge over at countryviewcrafts challenge blog and this month the theme is monotone.... so much a favourite of mine. So without further ado here is my make for today :


So for this piece I chose to work in softer tones and tried really hard to make a fairly gentle piece...not sure if I achieved that or not? but I started with an mdf base, covered in ivory cardstock and then got playing with some yummy antique linen distress paint...


I then added a bit of script and these gorgeous flourish stamps, stamped with distress paint... then  onto all the decorations :


So here are some of the pieces that went to make the finished piece, the flowers...cut from ivory cardstock , edged with vintage photo an then made using a tutorial by the lovely Jennie...which can be found here....... now I know they are not up to her amazing standard but I do think I may be slowly getting better!


her tutorial just gives the fab Tattered floral die by Tim Holtz another fab look. 


The sentiment is one of the last year release from Tim that I love, stamped in coffee archival and clear embossed. the foliage was all cut from spellbinders foliage 2, but let me tell you about a fab thing...have you tried the new magnetic plate for die cutting...if not wow its so cool, no more bits of sticky tape to keep those fiddly dies in place ..this is fab..

Now for the leaves...i love playing with my melt pot and there is a great technique using the melt pot with UTEE and shrink plastic that I never tire of...its just so cool! 
So here is how I made these leaves :


I die cut some clear shrink plastic using the tattered leaves die..set aside and added clear UTEE to my melt pot and left to do its melty magic...then  when all melty I added the die cut shrink plastic leaf and wow it curls and shrinks...then removed with tweezers but the really cool thing is it gets coated in a gorgeous UTEE coating giving a really wonderful glossy sheen .

To complete the piece I added some pearls to the flower centres, some embossed flourishes to the base using sticky embossing powder and rock candy distress glitter and there you have it my monochrome make...


( sorry no pearls in this one above , they were a last minute touch!)


make sure you pop across and see all the other fab DT and GDT makes and maybe join in the fun...you never know you could win a voucher or be chosen to GD next month ...we would love to see you playing along!

keep those hearts full and happy x


Monday, 13 January 2014

sneak peak for CountryViewCrafts blog

Well it is my turn over at the CountryViewCrafts blog today and inspired by the super talented and lovely Hels I have been playing with beeswax! I am in love...not so sure about the stinkiness but love the effects! So here is a sneak peak of my make , for all the details please hop across here to have a look!


Thanks for stopping by! 

I will be back later today with my Dt post for Creative Expressions x 

Happiness is a butterfly, which when pursued, is always just beyond your grasp, but which, if you will sit down quietly, may alight upon you.  ~Nathaniel Hawthorne

Wednesday, 26 June 2013

going coastal for dragons dream TIO

well it is time for another recipe over at dragons dream TIO and this time from the lovely Elizabeth. The recipe this fortnight is : mica, coastal and a flourish....so all you have to do is make a tag using these ingredients and remember to use at least on real stamp.
So here is my make :
(now i may have stretched coastal a little...but here she is ):


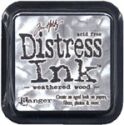
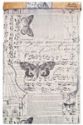
So I struggled with this theme a lot! and decided to go down the sea kind of colours and create some textures too.. So I swiped some embossing dabber across some torn corrugated card and embossed using fab verdigris embossing powder. This became the base for my tag to be attached too.

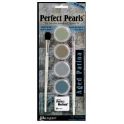
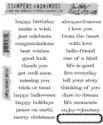
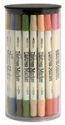
The tag itself was spritzed using homemade mica sprays using distress re-inkers and perfect pearls mica powder in mini mister bottles. i then over stamped using this fab fancy flourish from Tim Holtz.


not sure if you can see the mica but I promise it is there! I also added some stamping using bubble wrap stamp..now onto the fun bit...

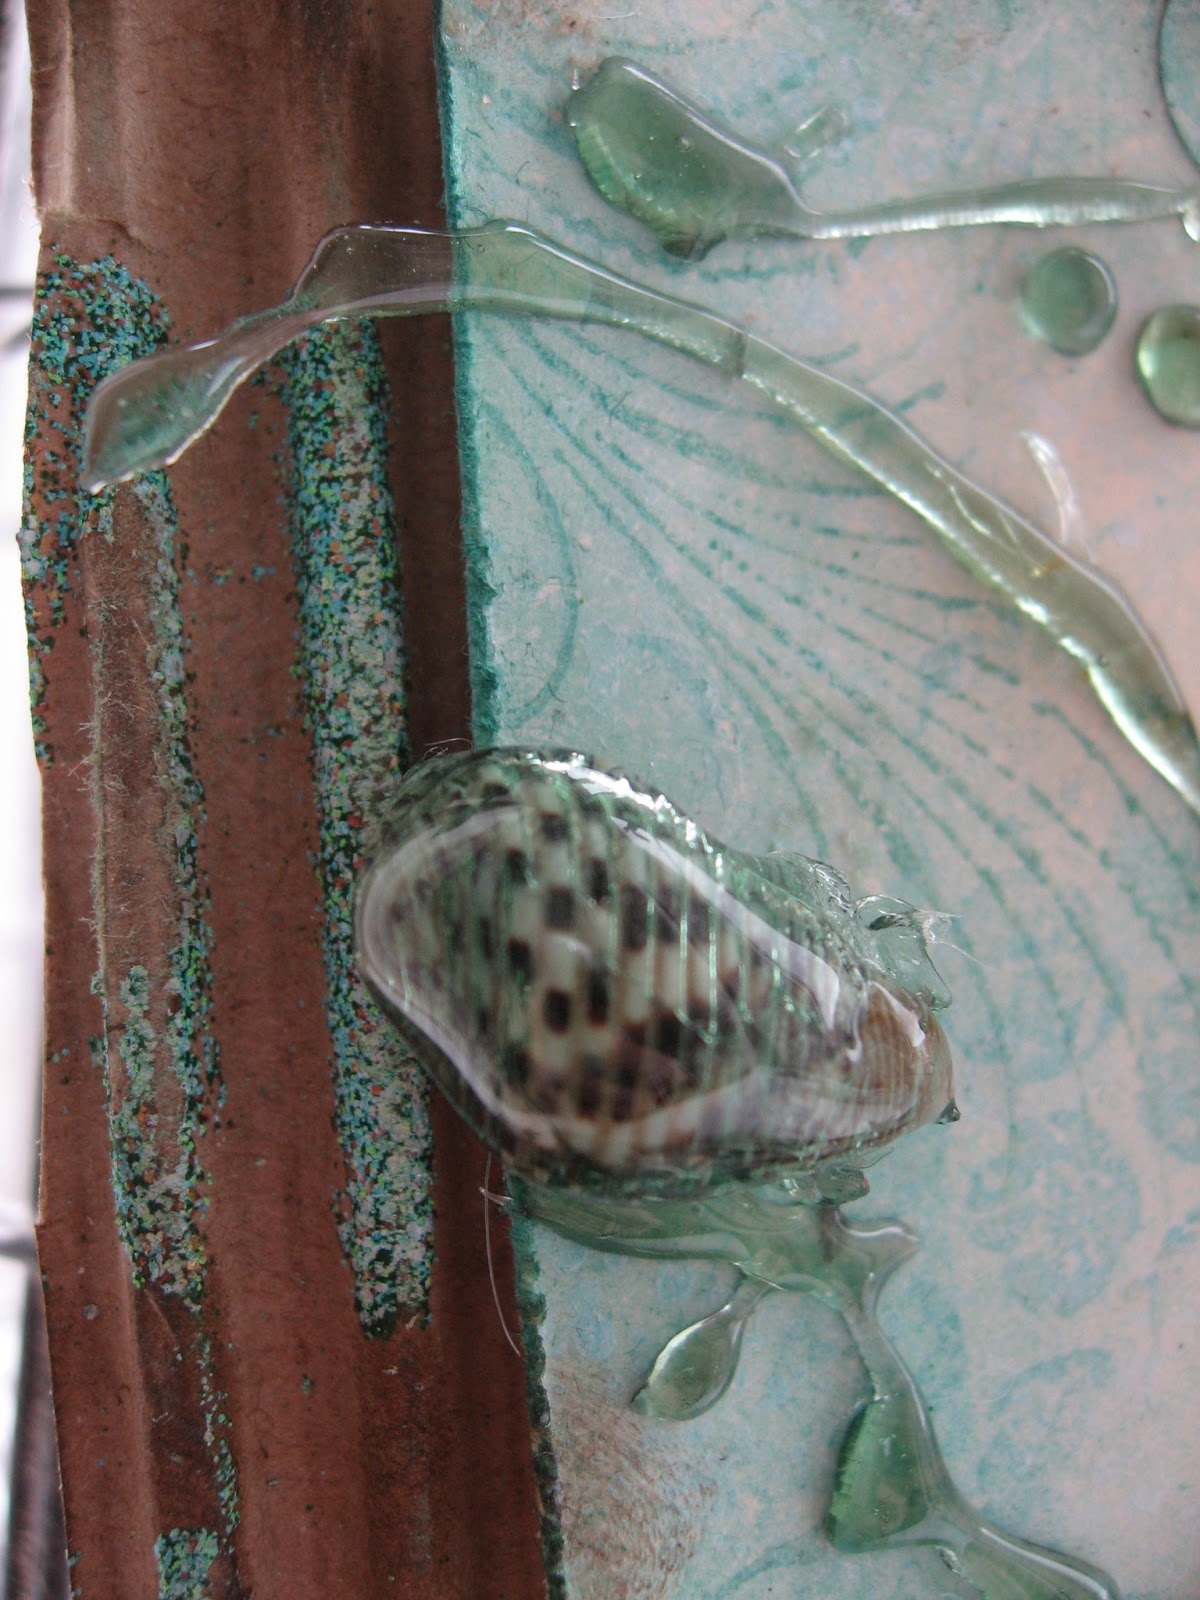
i wanted to create a watery effect and used my marvellous melt pot...now Hels has given me my melt pot mojo back..it has a permanent place on my spare desk...well the one i have kind of taken over...oops...and so it is always out and ready for the off! I melted some clear UTEE and then added some melt art colour ink to add a touch of blue...but as the clear ambered it went this yummy green...for which I can take no credit..


I drizzled some on to my craft sheet and left to cool and then had marvellous fun dunking my shells to give a hopefully watery feel?! well love the way their textures and colours are encased in this glossy globs anyway! (globs being a technical term for something I am sure!?)

 
a smattering of sand and some rusty wire and there you have it...make sure you pop across and see my fab team mates makes who have some amazing and much more coastal makes...


sorry this is late been at the hospital with James and will fill you in later x

have a fun and inky day!
 trace x 

Saturday, 1 June 2013

steampunk die cuts for country view crafts challenge

well where does the time go ...another month full of wonderful entries and now another challenge over at country view crafts challenge....and lucky me as I was lucky enough to be able to choose the them...Die Cuts...
I love die cuts be it grunge or vintage , steampunk or feminine...they are so versatile and there are so many fab ones to choose from...I love them and enjoy the added elements they bring to a piece.

So for my first make this month a steampunk style hanging...the second make..here on Tuesday will be very different. So here is my make :


I had so much fun making this piece, including so melt pot play! and hope that this shows .

I started by covering my hanging board with lots of gear die cuts using gears and movers and shapers gear die cuts. And also the on the egde steampunk gears die.

 Then a layer of gesso and then layers of black soot distress ink and dabs of black soot and brushed pewter distress paint.


 I love how simple die cuts can create such texture and layers. Now on to more layers and die cuts and then yummy goodies. I added some strips of the new Tim tissue tape...

I created a pocket watch using grey board and cut and layered up to create dimension and filled with a couple of cogs..I also utilised the centres of the pocket watch and added a cog cut out from the centre(these went inside the pocket watch ...so no waste!)  I coloured the pocket watch with black soot and dusted with brushed pewter distress paint.


I also added some cog die cuts from DIY tape  and ran it through an embossing folder. I also added my first ever piece using my first texture tread...thrilled with it...now i need more !! Thank Hels Sheridan! (for the continued melt pot inspiration). I added these pieces in the corners and brushed some pewter treasure gold over them. I also added a large piece in the centre....


 I also added a key die cut stuck in the gents back..

Here is the melt art piece from  the centre


I added some washers for the centres of some of the cogs and some chain for the pocket watch.Finally a fab steampunk gent from time travellers set, painted using distress and a waterbrush and a great Tim sentiment ..


well hope that you will be inspired to join our challenge...you have a whole month to get your thinking caps on!...hop here for plenty more inspiration!

I will be linking this up to Hels some like it hot challenge when i get home ( day in Kent with my Mum and Dad ...been too long and James seems fit enough..fingers crossed!X)

I am entering this for some like it hot (sunday stampers)@ http://pinkleart.blogspot.co.uk/

have a fun and inky one !
trace x