Just wanted to say ... thanks for taking the time to stop by, hope you enjoyed your visit.x

Showing posts with label ephemera. Show all posts

Friday, 3 July 2015

The journey awakens the soul for A Vintage Journey.

Well it is going to be a busy week on the blog and today sees the start of the next journey over at A Vintage journey and the theme this month is Destinations.

Now as a huge fan of the found relatives I used one to inspire this piece...I love how each image seems to have a story to tell and this showed the way to Paris for these two young people to share and celebrate their love.

 I am not great with words so will let my crafting elements tell the story ....


I started by covering a mdf board with paper from the French Industrial paper stack with the Eiffel tower on it , covering with picket fence distress paint and smudging and hen adding areas of clear embossed script. 
I edged the board with tissue tape to finish of the sides of the board.


Now for layers of ephemear from the gorgeous Tim Holtz ephemera packs and also some pieces from the pocket card packs. I scuffed the edges and inked with walnut stain distress ink.

I tied a bow around it using seam binding coloured with tattered rose distress stain .


I just love this colour and it has to be added to my favourites list .


Here is a close up of the embossed text ...


I die cut some trellis using the new frameworks die from thick card, I coloured the card with antique linen distress ink and then covered with a layer of Decoart crackle glaze. 
When dry I rubbed walnut stain distress ink across the surface and into the cracks.


here it is against the background.


I scuffed the image and sanded it and added some tattered rose colour to the flowers using tattered rose distress marker.


Here is the finished piece I added some tattered rose flower embellishments, adding some buttons to the centres.


I added a stamped image of the Eiffel tower using the framelits set and die cut, inked and then covered with crackle glaze and when dry rubbed ink into the cracks. I added a scuffed and inked flashcard, a die cut heart..inked , crackled and then with ink rubbed into the cracks.

I lightly inked the flowers with tattered rose distress ink and also added a word band from idea-olgy range.


here is a close up of the Eiffel tower..


So I do hope you like my make and make sure you hop across here to see all my team mates makes..you won't be disappointed! 


You have a whole month to join in the fun and could be a guest designer or win a voucher for Country View Crafts our generous sponsor.


Wednesday, 1 July 2015

Life is meant to be a great adventure - For Country View Crafts

Well today is the start of a new challenge over at Country View Crafts and I am lucky enough to have chosen the new theme : which is on your travels... so here is my first make :
(make sure you hop across here to see my team mates wonderful makes ..and don't forget you have a whole month to join in , you could be chosen as a guest designer or be the winner of a gift voucher for Country view crafts shop..and believe me Susan has it jammed of all sorts of yumminess!)
So here is my first make :


For my this piece I created two mdf panels that make a pair  ..

I covered my boards with ivory card and trimmed to size, I then coloured using distress sprays and stains in frayed burlap, pumice stone and antique linen. I also added some DecoArt modelling paste through Industrial elements stencil.


I also added some modelling paste through a stencil onto one of the pocket cards.


I also inked through the stencil using walnut stain distress ink ( I did not stick the layers down , just laid ontot the background to place where I wanted to add the stenciled detail)


Again I added stencilled detail to the other panel.


I then placed my found relatives picture and pocket card ephemera onto the piece (again not glued yet) to guide where I stamped this fab handwritten stamp from Tim Holtz Handwritten thoughts.


This picture shows how I built up the layers in my background using layers of distress ink, stencilled and stamped details. The new distress spritzer gives great effects too...love those splatters!


I inked the edges with walnut stain distress ink and covered the sides in tissue tape to make the piece finished .


Here is a close up of the details... I added some idea-ology, a die cut using new movers and shapers plane...crackled and then coloured using paints and inks..and plenty of layered pocket cards and ephemera...topped off of course with one of the wonderful found relative cards ..


Here is the second panel :

with a crackled globe from movers and shapers die cut, more idea-ology and ephemera


I had such a lot of fun creating this piece.. and you have a whole month to join in the challenge ...you could be one of the lucky guest designers or a lucky winner of a gift certificate for Susan's lovely shop..

Make sure you hop across here to see all my team mates fab makes ..


Sunday, 10 May 2015

celebrate the vintage x

Well a shorter post today to share a couple of collage style vintage cards I have made. I am so loving playing with collage and feel I have really neglected my stamps...must remedy that really soon .

But for today here are a couple of men's collage style vintage cards using plenty of Tim Goodies and yes you guessed it more of those found relatives :


I just love playing with all those layers and delving in my idea-ology goodies to create these  cards, a bit of scuffing and sanding, a smidge of walnut stain and there you have it!


I know you may need a lie down after the shortness of this post!

keep those fingers inky!
Trace x 

Friday, 27 March 2015

Happy is as happy does !

I have spent lots of time playing....and just making for me and for pleasure...and here is a tag made to play with abandoned coral... When I saw this colour it wasn't one that I thought was very me ..but I have to say I like it ...
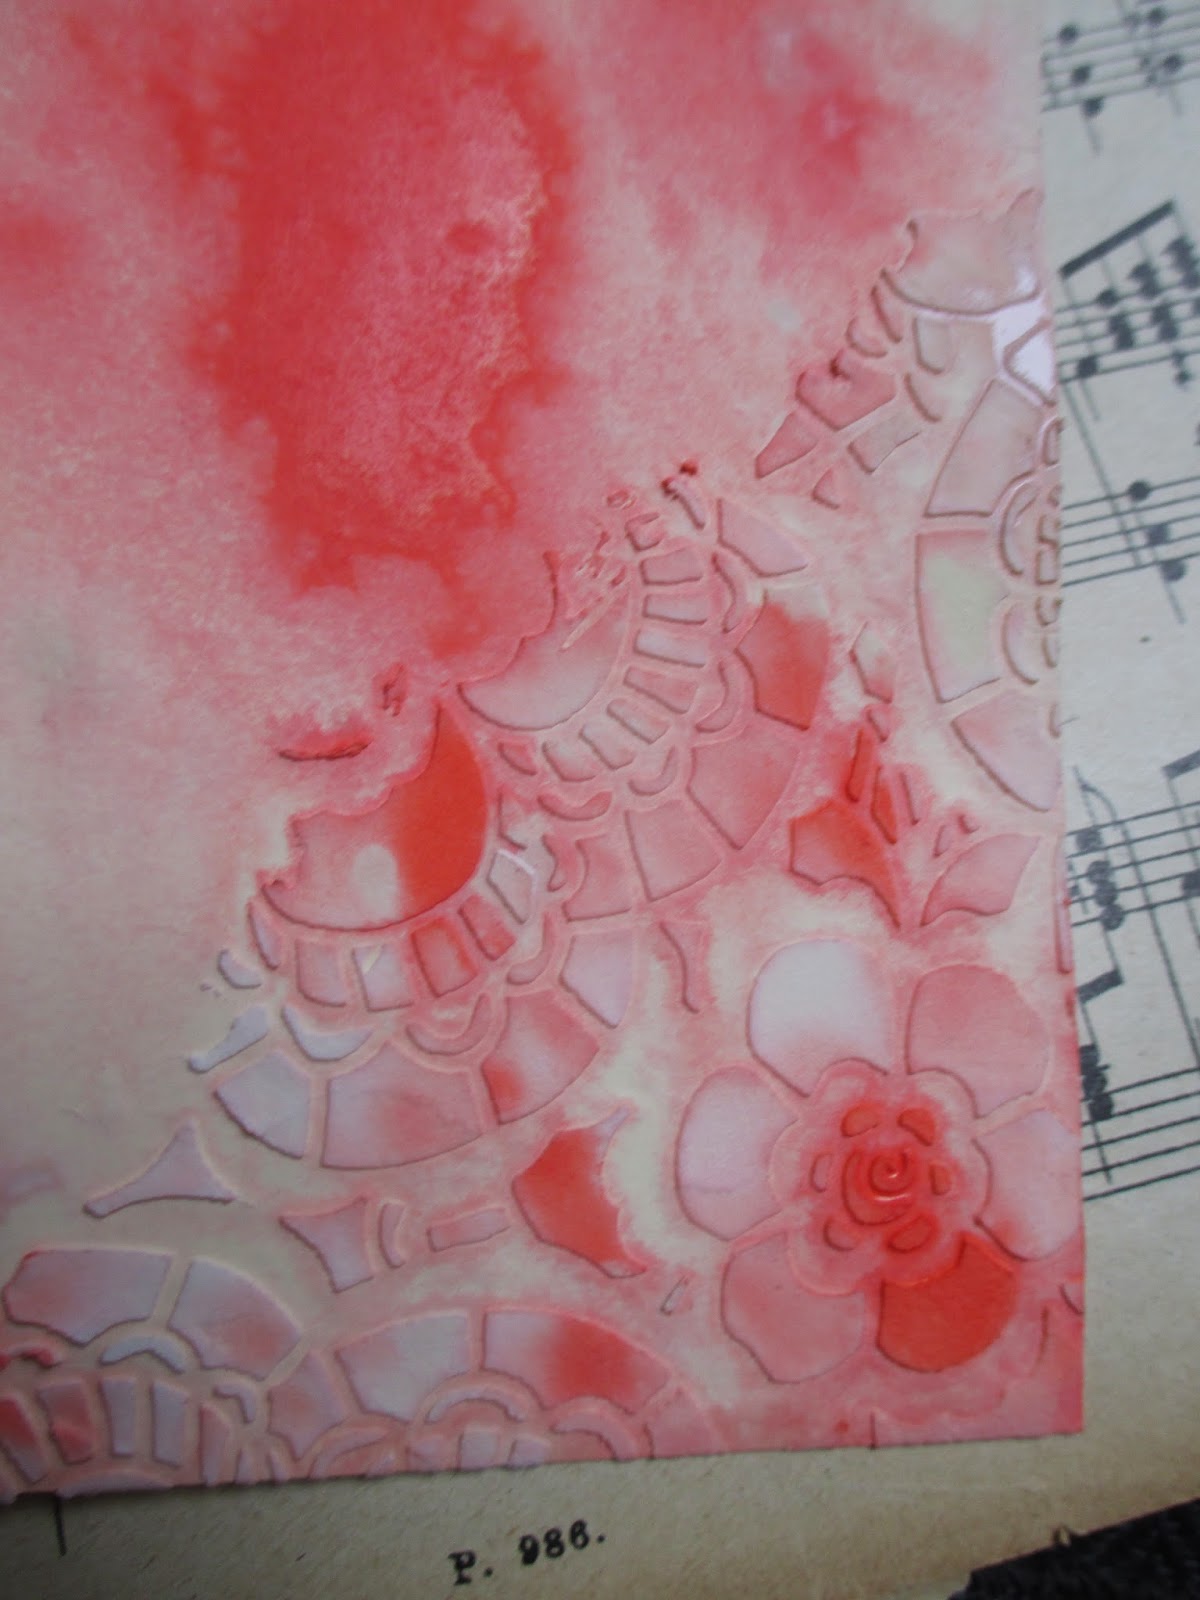
I started with a tag and applied some texture paste through this fab floral stencil from the crafty master Tim Holtz no less!

I then smooshed (technical term!) some distress paint in antique linen, picket fence and abandoned coral onto the craft sheet, spritzed with water and then swiped my tag through and plenty more spritzing!


 I just love those gorgeous marbled colours!


I dried with mt heat tool and ended up with this scrummy background... and its not brown!!!


I scuffed the edges of the tag and then added walnut stain distress ink which looks good with anything!


Now to get playing and adding the detail... I am loving collaging elements and have realised that my stamps have been somewhat neglected...but they will be back


I tend to collect lots of pieces and fiddle about until I am happy and only glue / staple on at the last minute when I am happy. As you know I have a bit of  thing for vintage photos , especially found relatives and the new photo booth and this one seemed to call out to go here...plenty of other Tim Holtz goodies too x


And finally to finish one of Tim Holtz handwritten sentiments on a journaling tag to the bottom...


To tie off the top I added some dyed seam binding using leftover paint from my kraft sheet.


Well hope you like my make...I will be a happy Mummy today as Oliver has been away all week and we have all missed him so much...cannot wait to get my hands on him! I am so proud of him and seems like they have had an action packed and fun filled week but will be so glad to have him home ...so will James and Lucy who have missed him loads...well and daddy too !


Wednesday, 18 March 2015

sheer indulgence...Tim Holtz style

Well I have been indulging in a little me playtime...more wooden houses and this time very Tim Holtz inspired... you know me well enough to know how much I love all my distress and Tim Holtz goodies but also how I have a teensy bit of a thing for idea-ology... okay maybe its a very large thing!

I have been playing with papers, some doo-dads that I managed to find and also the new photo booth...which I love and also the ephemera packs which are better than rummaging through a tin of chocolates.... and calorie free!..there's always a treasure in my box of ephemera pieces...I have emptied all my packs in and the vellum ones as well and its my little box of yummy!

So enough waffle here are my little houses for today :


Well they may be simple but they make me happy and that's what playtime is all about right? I covered all the houses ( thanks father in law for cutting from my scruffy sketches!) and then sanded and added tissue tape around the sides...so love this stuff!

I added some walnut stain distress ink around the edges and then added the ephemera and photos..spending a lot of time playing around with pieces until I was happy. All were scuffed around the edges and inked with walnut stain distress ink.

Finally I sealed the houses using decoart matte varnish .

So here is a close up of each little house :


House no 2 :


and last but not least this cheeky little chappy on house no 3 :


Well thanks for stopping by to see the results of my pure indulgence and playtime..! .. I have a few more houses on the go..so there may be more to see soon..

I would like to enter my houses into anything goes challenge @ a sprinkle of imagination  .
and Anything goes @ Mixed media world.

keep those fingers inky!
and thanks for stopping by x
trace x


Tuesday, 10 March 2015

capture a smile

Well I have been wanting to play with these new dies, well new to me dies, from Eileen Hull, especially the recipe cards as I thought they would make great cards, slightly larger than an ATC.. so here is my make for today ...


I made the recipe box and also three recipe cards to fit inside... using thick card covered in wallflower paper stack and lots of distress goodness and Tim Holtz idea-ology goodies .

So onto the details..


I covered some thick paper in wallflower paper stack, die cut the box and edged with walnut stain distress ink. I think I am hooked on playing with the ephemera packs from the idea-ology range, can't stop using them on everything! I layered up ephemera, all with distressed edges and inked with walnut stain distress ink. I also used a journaling tag, a vellum ephemera photo and some chit chat stickers.


To close the box, I added some holes and tied through these using some seam binding dyed with bundled sage distress ink.


Now for the cards inside ....

I used the same design piece of paper from french industrial paper stack. I wanted all 3 to be linked together as a set .


I covered each card with paper, then die cut using recipe cad die...I used a photo booth photo on each piece, I love these so many to choose from! Again I added layers of ephemera, distressed and inked.


I added some remnant rubs and some idea-ology given a  distressed look using decoart paints, they are great for creating an aged look


The cards were all created in the same way, building up layers of ephemera , rub ons and idea-ology to reflect how I saw the photos..


And finally card no 3 , completed in the same way... I hope you like these as I had so much fun making them !


Thanks to everyone who has stopped by and left comments while I slowly make my way back into blogland....and welcome to my new followers so thrilled you wanted to follow my inky and painty journey xx

I would like to enter this for Eileen Hulls art from the heart challenge - go green , as there are lots of soft and sage greens in this piece .

keep those fingers inky!
and hope you do something you love today xx

trace x